In today’s digital age, networking skills are more critical than ever. Whether you’re an IT professional, a student, or an enthusiast looking to advance your career, mastering networking concepts is essential. However, theoretical knowledge alone isn’t enough. To truly excel, you need hands-on experience. This is where building a personal lab comes into play. By combining tools like Azure Virtual Machines (VMs), Cisco Packet Tracer, and GNS3, you can create a powerful, flexible, and cost-effective environment to practice and refine your networking skills.
In this comprehensive guide, we’ll walk you through the process of setting up your personal lab using these tools. You’ll learn how to leverage Azure VMs for cloud-based networking, Cisco Packet Tracer for basic simulations, and GNS3 for advanced network emulation. By the end of this article, you’ll have a fully functional lab that will help you master networking concepts, prepare for certifications, and gain practical experience.
1. Why Build a Personal Networking Lab?
Building a personal networking lab offers numerous benefits:
- Hands-On Experience: Theory alone won’t prepare you for real-world networking challenges. A lab allows you to experiment, troubleshoot, and learn by doing.
- Cost-Effective Learning: Setting up physical hardware can be expensive. Virtual labs are a budget-friendly alternative.
- Flexibility: You can simulate a wide range of network configurations, from simple to complex, without the need for physical devices.
- Certification Preparation: Many networking certifications, such as CCNA, CCNP, and CompTIA Network+, require practical skills. A personal lab is an excellent way to prepare.
- Career Advancement: Practical experience with tools like Azure, Cisco Packet Tracer, and GNS3 can make you stand out in the job market.
2. Overview of Tools: Azure VMs, Cisco Packet Tracer, and GNS3
Azure Virtual Machines (VMs)
Azure VMs are cloud-based virtual machines that allow you to run various operating systems and applications. They are ideal for creating a cloud networking environment, simulating hybrid cloud setups, and testing network configurations.
Cisco Packet Tracer
Cisco Packet Tracer is a network simulation tool designed for beginners. It allows you to create basic network topologies, configure devices, and simulate network traffic. It’s an excellent tool for learning the fundamentals of networking.
GNS3
GNS3 is an advanced network emulator that allows you to run real Cisco IOS images and other network devices. It’s perfect for creating complex, real-world network topologies and testing advanced configurations.
3. Setting Up Azure Virtual Machines for Networking Practice
Step 1: Creating an Azure Account
- Go to the Azure website and sign up for a free account. You’ll get $200 in credits for the first 30 days.
- Verify your identity and set up your payment method (required even for free trials).
Step 2: Deploying Virtual Machines
- Log in to the Azure portal.
- Click on Virtual Machines in the left-hand menu.
- Click Create and choose Virtual Machine.
- Configure the VM settings:
- Subscription: Choose your subscription.
- Resource Group: Create a new one or use an existing group.
- Virtual Machine Name: Enter a name (e.g., “Networking-Lab-VM”).
- Region: Select a region close to you.
- Image: Choose an operating system (e.g., Windows Server or Ubuntu).
- Size: Select a size based on your needs (e.g., B1s for basic testing).
- Set up authentication:
- Choose a username and password or use SSH keys for Linux VMs.
- Configure networking:
- Assign a public IP address to access the VM remotely.
- Open necessary ports (e.g., RDP for Windows, SSH for Linux).
- Review and create the VM.
Step 3: Configuring Networking in Azure
- Go to the Networking section of your VM.
- Configure Network Security Groups (NSGs) to control inbound and outbound traffic.
- Set up virtual networks (VNet) and subnets to simulate different network segments.
- Use Azure’s built-in tools to test connectivity between VMs.
4. Getting Started with Cisco Packet Tracer
Step 1: Installing Cisco Packet Tracer
- Visit the Cisco Networking Academy website.
- Sign up for a free account or log in if you already have one.
- Download Cisco Packet Tracer from the resources section.
- Install the software on your computer.
Step 2: Building Basic Network Topologies
- Open Cisco Packet Tracer.
- Drag and drop devices (e.g., routers, switches, PCs) onto the workspace.
- Connect devices using cables (e.g., Ethernet, serial).
- Configure IP addresses, subnet masks, and default gateways for each device.
Step 3: Simulating Network Traffic
- Use the Simulation Mode to visualize packet flow.
- Test connectivity using the ping and traceroute commands.
- Experiment with different protocols (e.g., HTTP, FTP, DHCP).
5. Advanced Network Emulation with GNS3
Step 1: Installing GNS3
- Download GNS3 from the official website.
- Install GNS3 and the GNS3 VM (required for running Cisco IOS images).
- Set up the GNS3 VM in VMware or VirtualBox.
Step 2: Integrating GNS3 with Cisco Packet Tracer and Azure VMs
- Import Cisco IOS images into GNS3.
- Connect GNS3 to your Azure VMs using VPN or direct connections.
- Use GNS3 to simulate complex network topologies and integrate them with your Azure environment.
Step 3: Creating Complex Network Topologies
- Add routers, switches, and firewalls to your GNS3 workspace.
- Configure routing protocols (e.g., OSPF, EIGRP, BGP).
- Test advanced configurations like VLANs, ACLs, and NAT.
6. Combining Azure VMs, Cisco Packet Tracer, and GNS3
Step 1: Connecting Azure VMs to GNS3
- Set up a VPN connection between your Azure VNet and GNS3.
- Use Azure’s Virtual Network Gateway to establish the connection.
- Test connectivity between your Azure VMs and GNS3 devices.
Step 2: Simulating Hybrid Cloud Environments
- Create a hybrid cloud setup by connecting on-premise devices (simulated in GNS3) to cloud resources (Azure VMs).
- Test scenarios like site-to-site VPNs, cloud migrations, and hybrid cloud security.
Step 3: Testing Real-World Scenarios
- Simulate real-world network issues (e.g., latency, packet loss).
- Troubleshoot and optimize network performance.
- Experiment with disaster recovery and failover strategies.
7. Best Practices for Mastering Networking Skills
- Start Small: Begin with basic topologies in Cisco Packet Tracer before moving to GNS3 and Azure.
- Document Your Work: Keep a lab journal to record configurations, issues, and solutions.
- Stay Updated: Networking technologies evolve rapidly. Follow blogs, forums, and official documentation.
- Join Communities: Engage with networking communities on platforms like Reddit, Cisco Learning Network, and GNS3 forums.
- Practice Regularly: Consistency is key. Dedicate time each week to lab practice.
8. Conclusion
Building a personal networking lab with Azure VMs, Cisco Packet Tracer, and GNS3 is a game-changer for anyone looking to master networking skills. By following the steps outlined in this guide, you’ll create a versatile and powerful environment to practice, experiment, and learn. Whether you’re preparing for certifications, advancing your career, or simply exploring your passion for networking, this lab will provide the hands-on experience you need to succeed.
Start building your lab today and take the first step toward becoming a networking expert!
See Also
-

Why Software-Defined Networking Is the Future (And What That Means for You)
-
From Chaos to Control: How MikroTik Bandwidth Manager Transforms Network Management
-
The Ultimate Buyer’s Guide to the Best SOHO Routers in 2025
-

Master Your Networking Skills: Build a Personal Lab with Azure VMs, Cisco Packet Tracer & GNS3
-
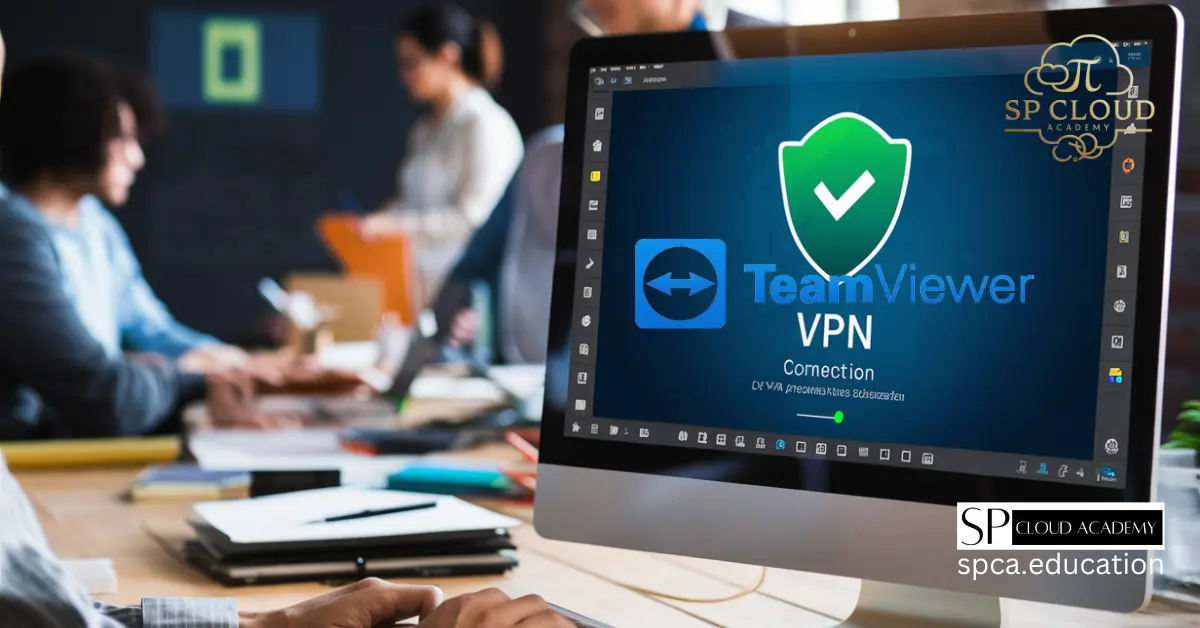
VPN in TeamViewer: Setting Up a VPN Connection and Using VPN for Secure Remote Access
-
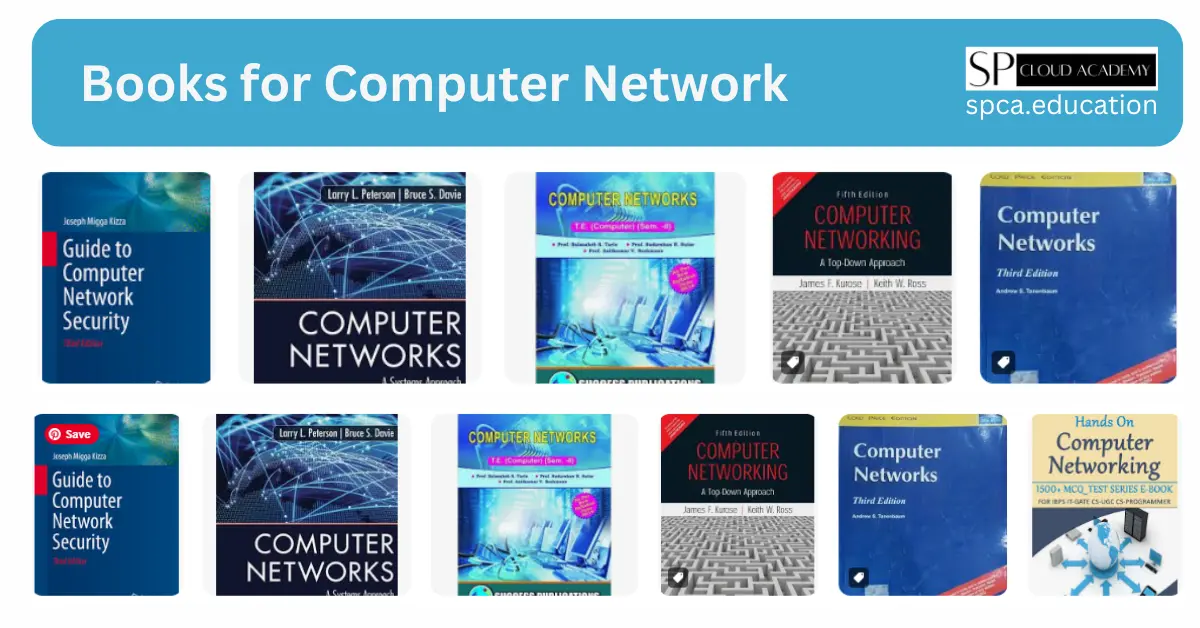
Level Up Your Networking Knowledge: Unveiling the Top 10 Books for Computer Network Enthusiasts
-
Stay Ahead in the Tech World: The Top Online Learning Platforms for Computer Networking in 2024
-

Becoming a Computer Network Specialist: A Step-by-Step Guide
-
A comprehensive guide on network servers