
In today’s digital age, Learning Management Systems (LMS) have become an essential tool for educators, trainers, and organizations looking to deliver online courses. With the rise of e-learning, creating a powerful LMS website has never been more accessible, thanks to platforms like WordPress. WordPress, combined with the right tools and strategies, allows you to build a robust, scalable, and user-friendly LMS website without needing extensive technical expertise.
This comprehensive guide will walk you through the step-by-step process of building a powerful LMS website with WordPress. From selecting the right plugins to designing an engaging user interface, we’ll cover everything you need to know to create a successful e-learning platform.
Table of Contents
- What is an LMS Website?
- Why Use WordPress for Building an LMS Website?
- Step-by-Step Guide to Building an LMS Website with WordPress
- Step 1: Choose a Domain Name and Hosting Provider
- Step 2: Install WordPress
- Step 3: Select a WordPress Theme for Your LMS Website
- Step 4: Install an LMS Plugin
- Step 5: Configure Your LMS Plugin
- Step 6: Create and Organize Courses
- Step 7: Set Up User Roles and Permissions
- Step 8: Integrate Payment Gateways
- Step 9: Add Interactive Elements and Multimedia
- Step 10: Optimize for SEO and Mobile Responsiveness
- Step 11: Test and Launch Your LMS Website
- Tips for Maintaining and Scaling Your LMS Website
- Conclusion
1. What is an LMS Website?
A Learning Management System (LMS) website is a platform designed to create, manage, and deliver online courses. It enables educators to upload course materials, track student progress, conduct assessments, and facilitate communication between instructors and learners. LMS websites are widely used by schools, universities, corporations, and individual instructors to provide structured and interactive learning experiences.
Key features of an LMS website include:
- Course creation and management
- Student enrollment and progress tracking
- Quizzes and assessments
- Certifications and badges
- Discussion forums and community features
- Payment integration for monetizing courses
2. Why Use WordPress for Building an LMS Website?
WordPress is one of the most popular content management systems (CMS) in the world, powering over 40% of all websites. Its flexibility, ease of use, and extensive plugin ecosystem make it an ideal choice for building an LMS website. Here’s why:
- User-Friendly Interface: WordPress is easy to use, even for beginners. Its intuitive dashboard allows you to manage content, users, and settings without coding knowledge.
- Customizability: With thousands of themes and plugins, you can customize your LMS website to meet your specific needs.
- Scalability: WordPress can handle websites of all sizes, from small course platforms to large e-learning portals with thousands of users.
- SEO-Friendly: WordPress is optimized for search engines, helping your LMS website rank higher in search results.
- Cost-Effective: Building an LMS website with WordPress is more affordable than developing a custom solution from scratch.
3. Step-by-Step Guide to Building an LMS Website with WordPress
Step 1: Choose a Domain Name and Hosting Provider
Your domain name is your website’s address (e.g., www.yourlmswebsite.com), while hosting is the service that stores your website’s files and makes them accessible online. Here’s how to get started:
- Choose a Domain Name: Pick a domain name that is short, memorable, and relevant to your LMS website. Use domain registration platforms like Namecheap or GoDaddy to check availability.
- Select a Hosting Provider: Choose a reliable hosting provider like Bluehost, SiteGround, or WP Engine. Look for features like SSL certificates, one-click WordPress installation, and scalability.
Step 2: Install WordPress
Most hosting providers offer one-click WordPress installation. Follow these steps:
- Log in to your hosting account.
- Navigate to the control panel and find the “WordPress Installation” option.
- Follow the prompts to install WordPress.
- Once installed, log in to your WordPress dashboard using your credentials.
Step 3: Select a WordPress Theme for Your LMS Website
Your theme determines the design and layout of your LMS website. Choose a theme that is responsive, customizable, and optimized for e-learning. Some popular LMS-friendly themes include:
- Astra: Lightweight and highly customizable.
- Neve: Fast-loading and compatible with major LMS plugins.
- Education WP: Designed specifically for educational websites.
To install a theme:
- Go to Appearance > Themes in your WordPress dashboard.
- Click Add New and search for your desired theme.
- Install and activate the theme.
Step 4: Install an LMS Plugin
An LMS plugin adds the functionality needed to create and manage courses. The most popular LMS plugins for WordPress are:
- LearnDash: A feature-rich plugin with advanced course-building tools.
- LifterLMS: Offers powerful e-learning features and integrations.
- Tutor LMS: User-friendly and ideal for beginners.
To install an LMS plugin:
- Go to Plugins > Add New.
- Search for your chosen LMS plugin.
- Click Install Now and then Activate.
Step 5: Configure Your LMS Plugin
Once the plugin is activated, configure its settings to suit your needs. This includes:
- Setting up course categories and tags.
- Configuring payment gateways (if monetizing courses).
- Enabling certificates and badges.
- Customizing email notifications.
Step 6: Create and Organize Courses
Now it’s time to create your courses. Follow these steps:
- Go to your LMS plugin’s dashboard.
- Click Add New Course.
- Add a title, description, and course content (e.g., videos, PDFs, quizzes).
- Organize your course into sections and lessons for better navigation.
Step 7: Set Up User Roles and Permissions
WordPress allows you to assign different roles to users, such as administrators, instructors, and students. Use your LMS plugin to define permissions for each role, ensuring that instructors can manage their courses while students can access content.
Step 8: Integrate Payment Gateways
If you plan to sell courses, integrate payment gateways like PayPal, Stripe, or WooCommerce. Most LMS plugins offer built-in integration with popular payment processors.
Step 9: Add Interactive Elements and Multimedia
Enhance your courses with interactive elements like quizzes, forums, and multimedia content (e.g., videos, audio, and images). This keeps learners engaged and improves the overall learning experience.
Step 10: Optimize for SEO and Mobile Responsiveness
To attract more visitors, optimize your LMS website for search engines:
- Use an SEO plugin like Yoast SEO or Rank Math.
- Add meta titles, descriptions, and keywords to your pages.
- Ensure your website is mobile-friendly and loads quickly.
Step 11: Test and Launch Your LMS Website
Before launching, thoroughly test your website:
- Check for broken links and errors.
- Test course enrollment and payment processes.
- Ensure all features work seamlessly across devices.
Once everything is ready, launch your LMS website and start promoting it to your target audience.
4. Tips for Maintaining and Scaling Your LMS Website
- Regular Updates: Keep WordPress, your theme, and plugins updated to ensure security and performance.
- Backups: Use a backup plugin like UpdraftPlus to regularly back up your website.
- Analytics: Use tools like Google Analytics to track user behavior and improve your courses.
- Community Building: Encourage student interaction through forums and social media groups.
- Scalability: As your user base grows, consider upgrading your hosting plan or using a content delivery network (CDN) to handle increased traffic.
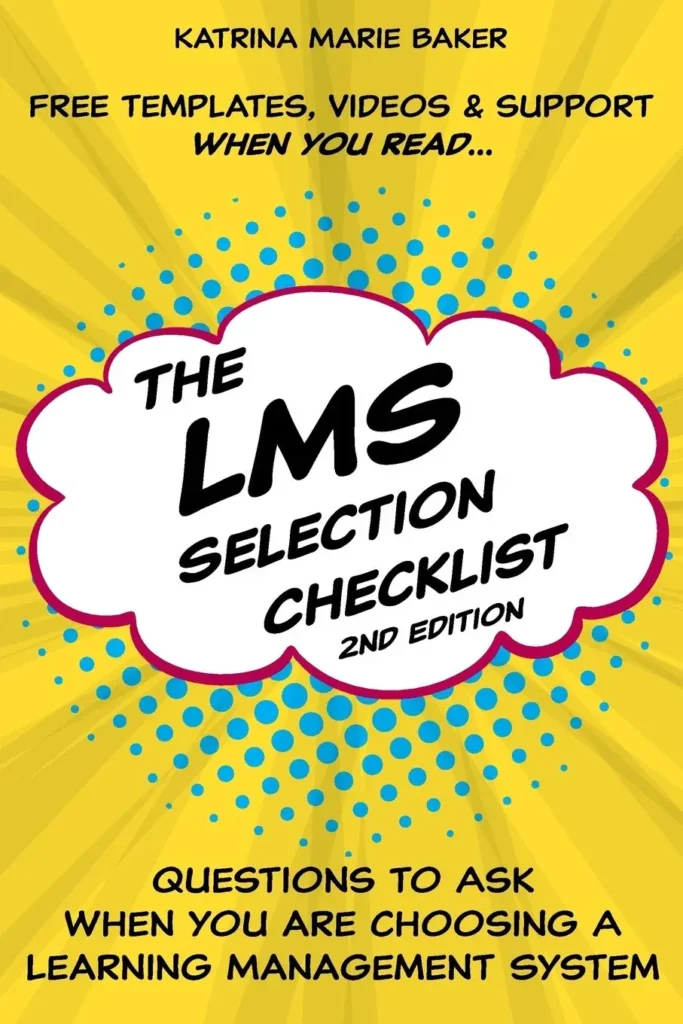
The LMS Selection Checklist” by Katrina Marie Baker is a must-have for anyone evaluating learning management systems. It provides clear, practical steps to streamline decision-making. Well-structured and insightful, it’s an essential guide for organizations seeking the right LMS. ⭐⭐⭐⭐⭐ #LMS #EdTech #Learning #TechTools #Guide
5. Conclusion
Building a powerful LMS website with WordPress is a rewarding endeavor that opens up endless opportunities for online education. By following this step-by-step guide, you can create a professional, user-friendly, and scalable e-learning platform that meets the needs of your audience.
Whether you’re an educator, trainer, or entrepreneur, WordPress provides the tools and flexibility to bring your vision to life. Start building your LMS website today and join the growing community of online educators shaping the future of learning.
By following this guide, you’ll have a fully functional LMS website that is optimized for SEO, user-friendly, and ready to scale. Happy teaching!
See Also
-

Voice Typing Made Easy: Expert Tips & Tricks for Perfect Hands-Free Writing
-

Browse Like a Ghost: The Ultimate Guide to Private Surfing on All Your Devices with a VPN
-

Blogger vs WordPress: Which One Suits Your Content Goals Better?
-

Robotic Process Automation: The Future of Work or The End of Jobs?
-

The Rise of Smart Enterprises: Inside the New Era of AI-Driven Business
-

How to Leverage Google BigQuery for Real-Time Data Insights
-

Sandboxing Technology Explained: How It Shields Your System from Cyber Threats
-
Google Chrome Enterprise Full Guide: Boost Security, Productivity & Control
-

Moral Compass: Understanding the Rightness of a Cause in Modern Society