In a world overflowing with digital photos, important documents, and a growing library of movies and music, managing it all can feel like a losing battle. Files are scattered across laptops, phones, and various cloud services, creating a chaotic digital life. What if you could create your own private, secure cloud right in your home? That’s the magic of a Network Attached Storage (NAS) device.
A NAS is more than just a hard drive; it’s a smart, centralized hub for all your data. It connects directly to your home network, making your files accessible to every device you own, from your PC to your smartphone. This guide will walk you through everything you need to know, from choosing the right device to setting it up like a seasoned professional. Get ready to take back control of your digital world.
What Exactly is a Network Attached Storage (NAS)?
Think of a NAS as your personal Google Drive or Dropbox, but with one crucial difference: you own it completely. It’s a dedicated, low-power computer designed for one primary job: storing and serving files over a network. Unlike a standard external hard drive that plugs into a single computer via USB, a NAS plugs into your router with an Ethernet cable.
This simple change is a game-changer. By living on the network, the NAS becomes a central digital filing cabinet for your entire household. You can save a document from your laptop, then open it on your tablet in another room. You can back up photos from your phone automatically, and your partner can access them from their own computer.
At its core, a NAS is a simple box containing one or more hard drives, a processor, and memory. It runs a specialized, user-friendly operating system that you access through a web browser. This OS turns the simple storage box into a powerful server capable of handling backups, streaming media, hosting websites, and so much more, all while keeping your data securely under your own roof.
Why You Might Need a NAS: Beyond Just Storage
The real power of a NAS isn’t just in storing files; it’s in what you can do with them. A NAS can transform how you manage and interact with your digital life, offering benefits that go far beyond a simple external drive.
Here’s why a NAS is a pro-level upgrade for your home network:
- Centralized Data Hub: Say goodbye to searching for a file across three different devices. All your important data—documents, photos, music, videos—lives in one organized place, accessible from anywhere on your network.
- Automated Backups: A NAS is the ultimate backup solution. You can set up software to automatically back up all your family’s computers (both Mac and PC) to the NAS. It’s a “set it and forget it” strategy that protects you from drive failure or ransomware.
- Your Personal Media Server: With apps like Plex or Jellyfin, your NAS can organize your movie and TV show collection into a beautiful, Netflix-style interface. You can stream your media to any TV, tablet, or phone in your house or even when you’re on the go.
- Private Cloud Access: Access your files from anywhere in the world. Most NAS brands offer secure remote access, allowing you to grab a document or show off photos to family without relying on a third-party service.
- Enhanced Data Security and Privacy: By hosting your own data, you control who sees it. You’re not subject to the terms of service or potential privacy issues of big tech companies. Plus, with a feature called RAID, you can protect your data from hard drive failure.
Choosing Your First NAS: Key Factors to Consider
Before you can set up your NAS, you have to choose the right one. The market is full of options, but focusing on a few key factors will help you make a smart decision.
1. Number of Drive Bays
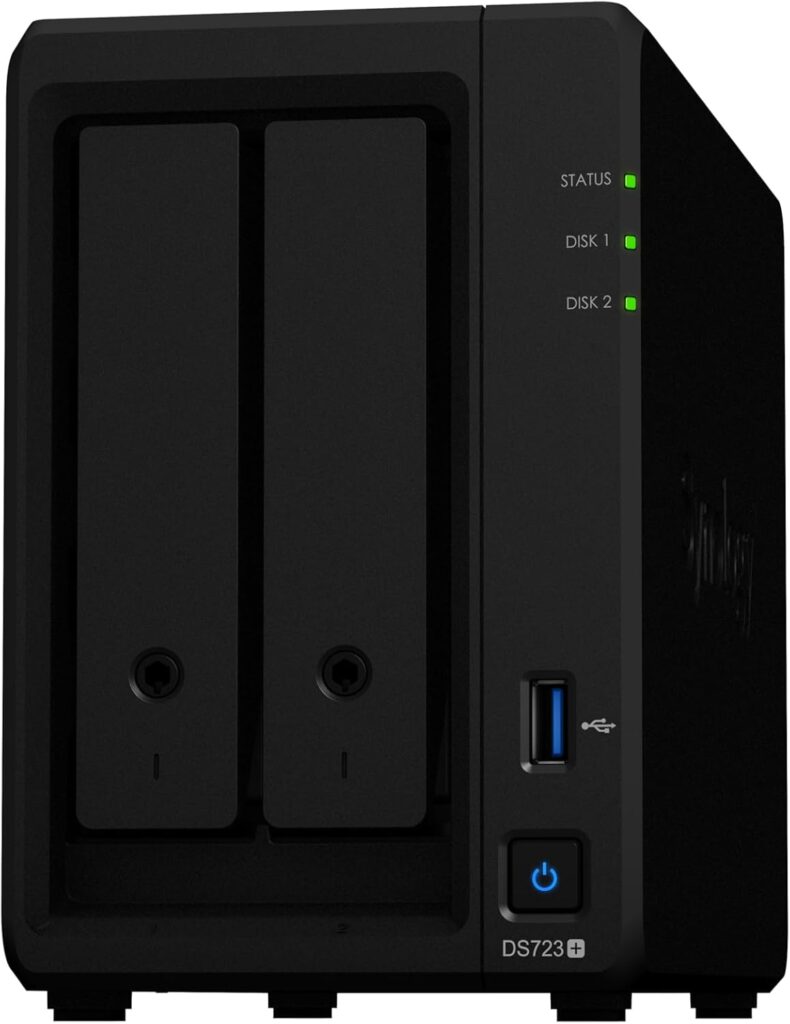
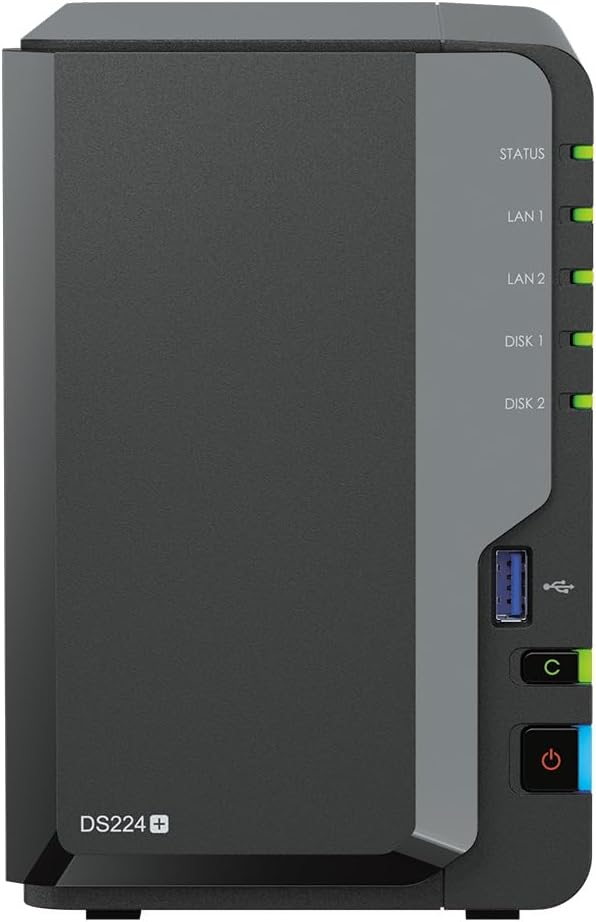
The “bays” are the slots where you install hard drives. The most common configurations are 2-bay and 4-bay models.
- 2-Bay NAS: Perfect for beginners. It allows you to use two drives in a RAID 1 configuration (mirroring), where one drive is an exact copy of the other. If one drive fails, your data is still safe on the second one.
- 4-Bay NAS: Offers more flexibility for storage space and advanced RAID configurations like RAID 5, which provides a balance of data protection and usable storage capacity.
2. Processor and RAM
The processor (CPU) and memory (RAM) determine how well your NAS can multitask. If you only plan to store and back up files, a basic model is fine. However, if you want to run a Plex media server to stream high-definition video or run multiple applications at once, invest in a model with a more powerful Intel or AMD processor and at least 4GB of RAM.
3. The Right Hard Drives
This is critical! Do not use standard desktop hard drives in a NAS. You need drives specifically designed for 24/7 operation. Look for NAS-specific drives like the Western Digital Red Plus or Seagate IronWolf series. These are built to handle the constant workload and vibrations inside a NAS enclosure, making them far more reliable for this purpose.
4. Brand Ecosystem (The Operating System)
The leading consumer NAS brands are Synology and QNAP. Their operating systems (Synology’s DSM and QNAP’s QTS) are polished, easy to use, and feature-rich app stores. Think of it like choosing between iOS and Android. Both are excellent, so watch a few video reviews to see which interface you prefer.
The Step-by-Step Pro Setup Guide
You’ve unboxed your new NAS and hard drives. Now for the fun part. This process is surprisingly straightforward and can be done in under an hour.
Step 1: Physical Installation
First, power down the NAS. Open the drive bays (they usually click open without tools) and insert your hard drives. Secure them according to the manufacturer’s instructions—most use simple plastic brackets. Close the bays, connect the included Ethernet cable from the NAS to a spare port on your router, and plug in the power adapter. Power on the NAS.
Step 2: Find the NAS and Install the OS
On a computer connected to the same network, open a web browser. Go to the address provided in your NAS’s quick-start guide (e.g., find.synology.com or install.qnap.com). This web utility will scan your network and find your new device. Follow the on-screen prompts to download and install the latest version of the NAS operating system (like Synology DSM). This process will format the hard drives, so make sure they are empty or contain data you don’t need.
Step 3: Create Your Storage Pool and Volume
This sounds technical, but it’s simple. The OS will guide you.
- A Storage Pool is the group of all your hard drives working together.
- A Volume is the actual space you create on that pool to store your data.
During this step, you’ll choose your RAID type. For a 2-bay NAS, select SHR (Synology Hybrid RAID) or RAID 1. Both will mirror your drives for data protection. For a 4-bay NAS, SHR or RAID 5 are excellent choices. Let the system initialize the drives; this can take some time.
Step 4: Create User Accounts and Shared Folders
A pro setup means not dumping everything into one admin account. Go to the Control Panel and create separate user accounts for each person who will use the NAS (e.g., for you, your spouse, your kids). Then, create Shared Folders. These are the main directories where you’ll store everything. Good starting folders are Documents, Photos, Music, Movies, and Backups. When creating them, you can assign permissions, deciding which users can read or write to each folder.
Level Up Your NAS: Essential First Apps and Services
With the core setup complete, it’s time to unlock the true potential of your NAS by installing a few key applications from the device’s App Center.
Install a Backup Service
Your first priority should be setting up automated backups. For Synology, this is Hyper Backup. For QNAP, it’s HBS 3 (Hybrid Backup Sync). Install the companion software on your computers (e.g., Active Backup for Business) to schedule regular, automatic backups of your entire system to the NAS. Now your computers are protected.
Set Up a Media Server
This is a game-changer for movie and music lovers. Install Plex Media Server or the open-source alternative Jellyfin from the App Center. Point the Plex library to your Movies and TV Shows shared folders on the NAS. The app will automatically scan your files, download artwork and information, and organize everything into a slick, streamable library. Install the Plex app on your smart TV, phone, or streaming stick to enjoy your media anywhere.
Enable Remote Access
You’ll want to access your files when you’re away from home. The easiest and most secure way to do this is using the built-in service from your manufacturer, such as Synology QuickConnect or myQNAPcloud. These services create a secure connection to your NAS without you needing to configure complex network settings. Simply enable the service, create an ID, and you can log in to your NAS from any web browser in the world.
Conclusion: Your Personal Cloud is Now Live
Congratulations! You have successfully demystified the world of Network Attached Storage. By moving beyond simple USB drives and public cloud services, you’ve built a powerful, private, and versatile data hub for your entire home. Your most important files are now centrally located, automatically backed up, and protected against drive failure. Your media is beautifully organized and ready to stream at a moment’s notice.
The initial setup is the biggest hurdle. From here, you can explore the vast capabilities of your device, from running a personal photo management app to hosting a website. Welcome to the world of true data ownership and digital peace of mind.
See Also
-
Network Attached Storage Demystified: How to Set It Up Like a Pro
-
What is Network Attached Storage (NAS)? The Beginner’s Guide You Need
-
From Chaos to Control: How MikroTik Bandwidth Manager Transforms Network Management
-
The Ultimate Buyer’s Guide to the Best SOHO Routers in 2025
-
Intel vs. AMD: The Ultimate Desktop & Server Processor Showdown of 2025
-
The Ultimate Guide to Creating Computer Hardware Specs for Procurement Success
-
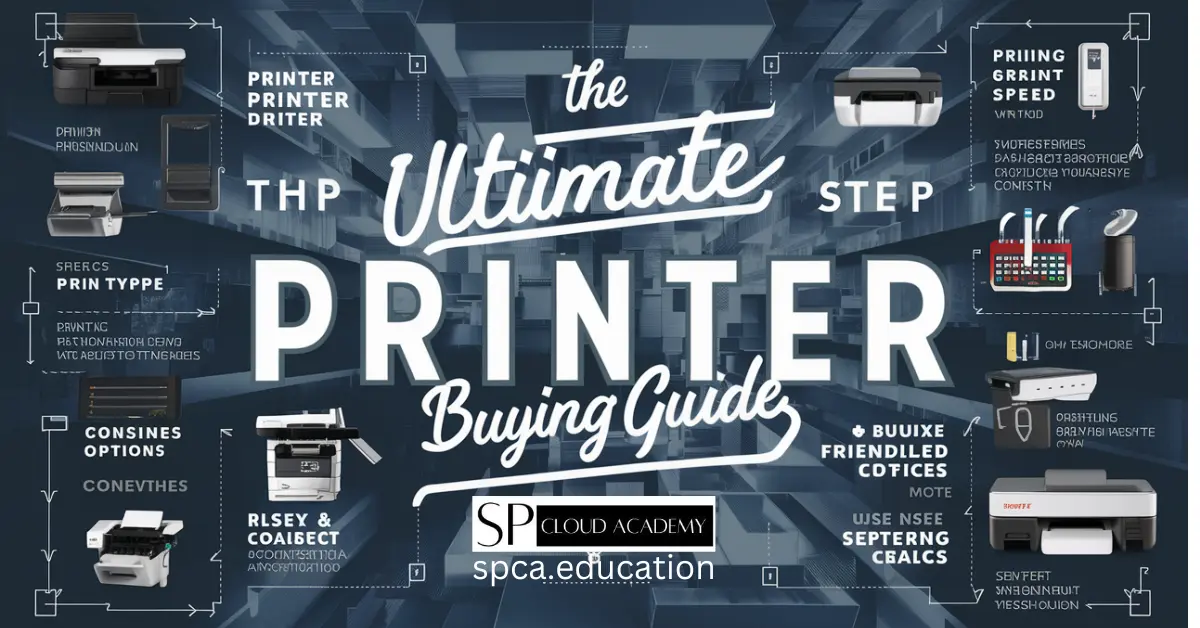
The Ultimate Printer Buying Guide: How to Choose the Best Printer for Your Needs
-
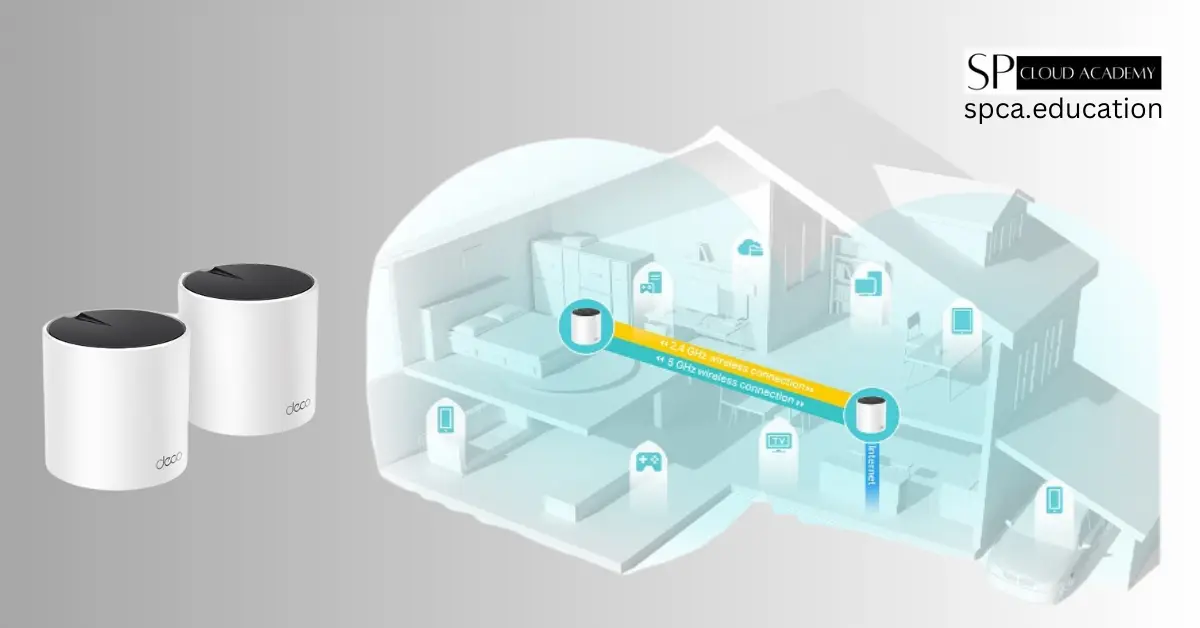
The Ultimate Guide to the TP-Link Deco AX3000 WiFi 6 Mesh System (Deco X55)
-
PC Components
-
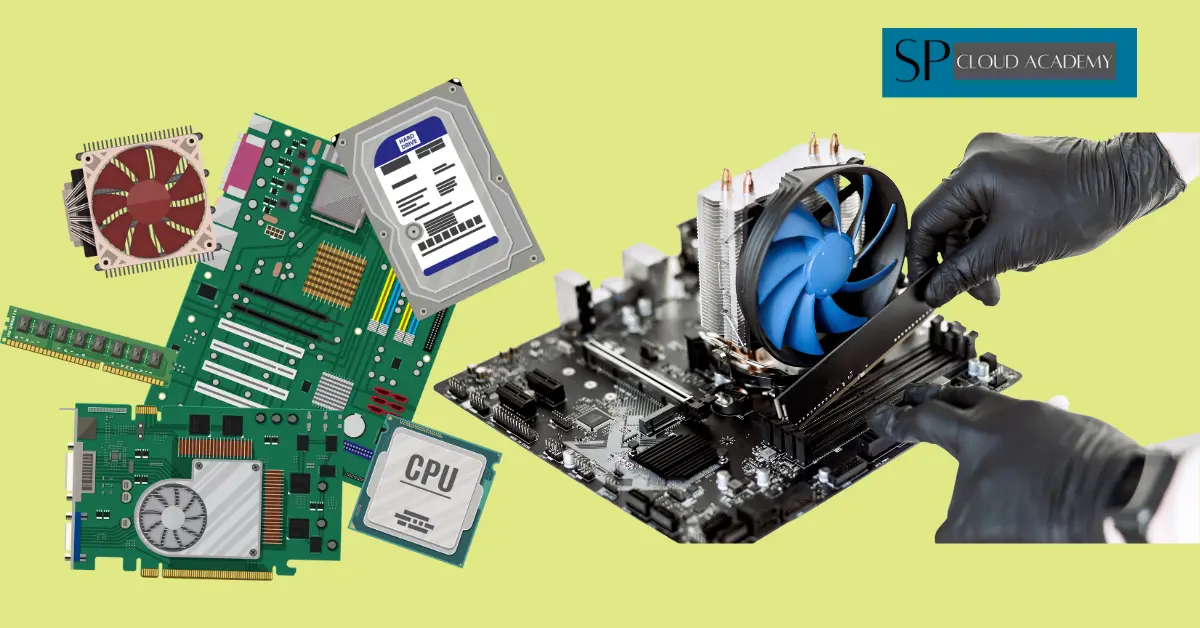
Desktop PC assembling and disassembling Guide
-

Printers
-
Router