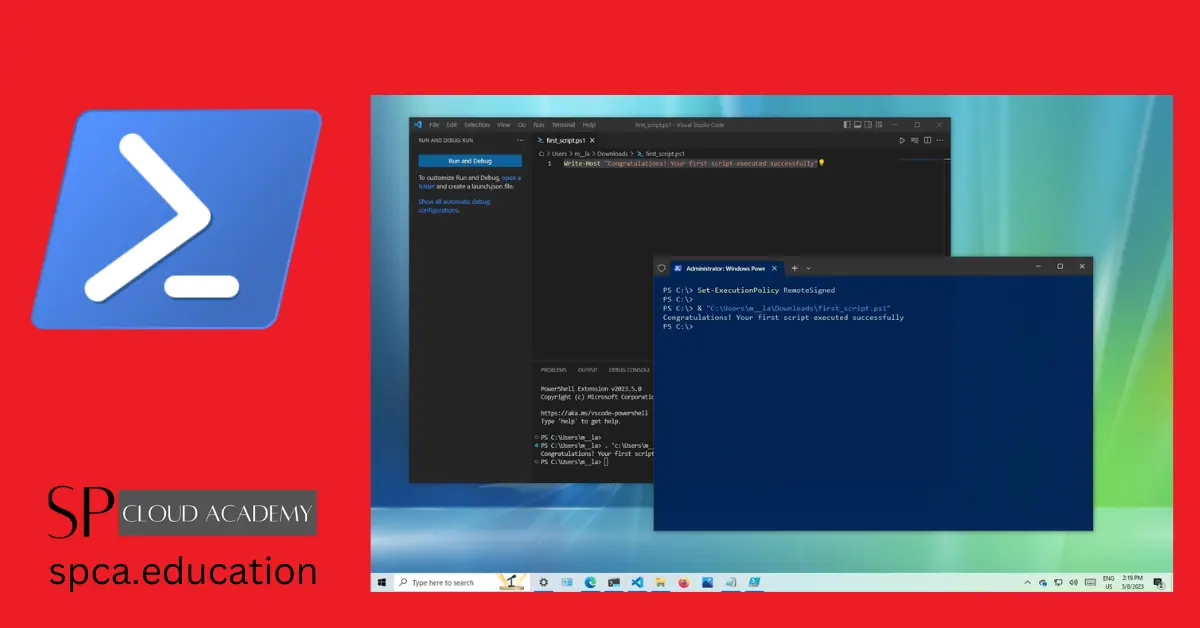
A Windows PowerShell script with a Graphical User Interface (GUI) combines the power of PowerShell scripting with a visual interface, allowing users to interact with PowerShell scripts more easily and intuitively. Here’s an overview of what this means:
- Windows PowerShell: PowerShell is a command-line shell and scripting language developed by Microsoft. It is designed for system administration and automation tasks. PowerShell scripts can be used to perform a wide range of tasks, such as managing the Windows operating system, configuring system settings, and executing administrative tasks.
- GUI (Graphical User Interface): A GUI is a visual way to interact with a computer program. It includes windows, buttons, checkboxes, text boxes, and other graphical elements that make it easier for users to interact with software. With a GUI, users can input data, make selections, and see the output of a program in a more user-friendly manner compared to pure command-line interaction.
A Windows PowerShell script with GUI combines these two concepts. It is a PowerShell script that includes a graphical interface that allows users to provide input, configure settings, and initiate PowerShell operations by interacting with the GUI elements. Some common scenarios where you might use PowerShell scripts with a GUI include:
- Creating custom tools for system administrators to perform specific tasks more easily.
- Providing non-technical users with a user-friendly interface for running complex PowerShell scripts without needing to know the commands.
- Automating repetitive tasks that require user interaction, such as data input or configuration.
There are various ways to create PowerShell scripts with GUI:
- Windows Forms: You can use the Windows Forms library in PowerShell to create a GUI application. This involves designing the GUI using a visual designer and then adding PowerShell code to handle events and perform actions based on user input.
- PowerShell Studio: This is a third-party tool from SAPIEN Technologies that offers a powerful environment for building PowerShell scripts with GUI. It provides a more streamlined development process.
- Other GUI frameworks: There are other GUI frameworks and libraries that can be used with PowerShell, such as WPF (Windows Presentation Foundation) or UWP (Universal Windows Platform).
These scripts are useful for streamlining and simplifying administrative tasks, making them more accessible to a broader range of users, and reducing the chances of human errors during script execution.
How to create Windows PowerShell scripts with GUI
Creating a Windows PowerShell script with a GUI involves several steps, and I’ll provide an example with explanations to help you get started. In this example, we’ll create a basic GUI that takes user input for their name, greets them, and provides a way to exit the application.
- Load the Windows Forms Assembly: You need to load the Windows Forms assembly to create a GUI in PowerShell. You can do this with the
Add-Typecmdlet. - Create a Form: The
System.Windows.Forms.Formclass represents the main window of the application. You can set properties like title, size, and add controls to it. - Add Controls: In our example, we’ll add a Label to display a greeting message, a TextBox to input the user’s name, a Button to submit the name, and another Button to exit the application.
- Define Event Handlers: Event handlers are functions that get executed when certain events occur. In our example, we’ll define a handler for the Submit button’s click event.
- Show the Form: Once the form and controls are set up, you need to show the form to the user.
Here’s a PowerShell script that demonstrates these steps:
Add-Type -TypeDefinition @"
    using System;
    using System.Windows.Forms;
"@

# Create a form
$form = New-Object Windows.Forms.Form
$form.Text = "Greeting App"
$form.Width = 300
$form.Height = 150

# Create a Label
$label = New-Object Windows.Forms.Label
$label.Text = "Enter your name:"
$label.Location = New-Object System.Drawing.Point(10, 10)
$form.Controls.Add($label)

# Create a TextBox for user input
$textBox = New-Object Windows.Forms.TextBox
$textBox.Location = New-Object System.Drawing.Point(10, 30)
$form.Controls.Add($textBox)

# Create a Submit button
$button = New-Object Windows.Forms.Button
$button.Text = "Submit"
$button.Location = New-Object System.Drawing.Point(10, 60)
$button.Add_Click({
    $name = $textBox.Text
    [System.Windows.Forms.MessageBox]::Show("Hello, $name!", "Greeting")
})
$form.Controls.Add($button)

# Create an Exit button
$exitButton = New-Object Windows.Forms.Button
$exitButton.Text = "Exit"
$exitButton.Location = New-Object System.Drawing.Point(80, 60)
$exitButton.Add_Click({
    $form.Close()
})
$form.Controls.Add($exitButton)

# Show the form
$form.Add_Shown({ $form.Activate() })
[void]$form.ShowDialog()
Explanation:
- We load the Windows Forms assembly using
Add-Typeto use Windows Forms controls and create the main form. - We create a label, a text box, and two buttons using
New-Objectand specify their properties such as text, location, and click event handlers. - When the “Submit” button is clicked, it reads the name from the text box and shows a greeting message using
MessageBox. - The “Exit” button closes the application by calling
$form.Close().
You can build upon this example to create more complex GUI applications with additional controls and functionality, incorporating your specific requirements for system administration or other tasks.
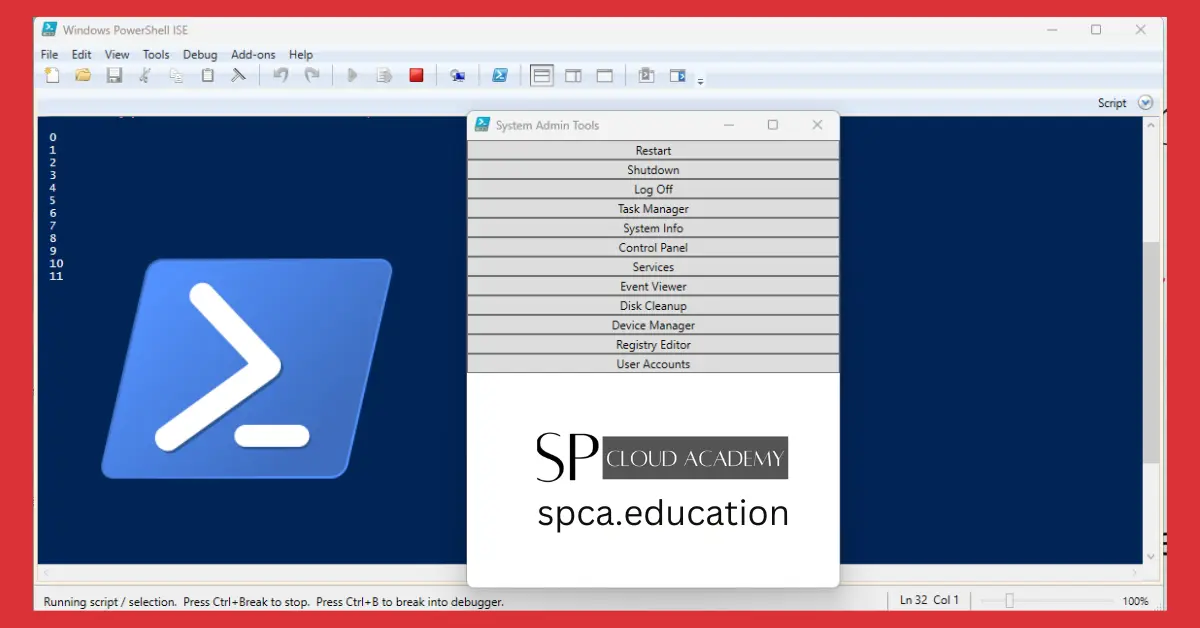
Examples
Creating a full-fledged Windows PowerShell script with a graphical user interface (GUI) for system administration is a complex task and beyond the scope of a single response. However, I can provide you with a simplified example of a PowerShell script with a GUI that incorporates a few basic system administration commands and demonstrates how to get started. You can expand upon this example and add more commands as needed.
For this example, I’ll create a simple GUI application that allows you to perform actions like listing processes, stopping a selected process, and getting system information. Please note that this is a basic template, and you can extend it as per your requirements.
Add-Type -TypeDefinition @"
    using System;
    using System.Windows.Forms;
"@

# Create a Form
$form = New-Object Windows.Forms.Form
$form.Text = "System Admin GUI"
$form.Width = 500
$form.Height = 300

# Create a List View to display process information
$listView = New-Object Windows.Forms.ListView
$listView.Location = New-Object System.Drawing.Point(10, 10)
$listView.Width = 460
$listView.Height = 150
$listView.View = [System.Windows.Forms.View]::Details
$form.Controls.Add($listView)

# Create columns for the List View
$col1 = New-Object Windows.Forms.ColumnHeader
$col1.Text = "Process Name"
$col1.Width = 150
$listView.Columns.Add($col1)

$col2 = New-Object Windows.Forms.ColumnHeader
$col2.Text = "PID"
$col2.Width = 100
$listView.Columns.Add($col2)

$col3 = New-Object Windows.Forms.ColumnHeader
$col3.Text = "Memory (MB)"
$col3.Width = 100
$listView.Columns.Add($col3)

# Button to refresh process list
$btnRefresh = New-Object Windows.Forms.Button
$btnRefresh.Location = New-Object System.Drawing.Point(10, 170)
$btnRefresh.Text = "Refresh Process List"
$btnRefresh.Add_Click({
    $listView.Items.Clear()
    Get-Process | ForEach-Object {
        $item = New-Object Windows.Forms.ListViewItem
        $item.Text = $_.ProcessName
        $item.SubItems.Add($_.Id)
        $item.SubItems.Add([math]::Round($_.WorkingSet / 1MB, 2))
        $listView.Items.Add($item)
    }
})
$form.Controls.Add($btnRefresh)

# Button to stop selected process
$btnStop = New-Object Windows.Forms.Button
$btnStop.Location = New-Object System.Drawing.Point(150, 170)
$btnStop.Text = "Stop Selected Process"
$btnStop.Add_Click({
    if ($listView.SelectedItems.Count -eq 0) {
        [System.Windows.Forms.MessageBox]::Show("Select a process to stop.")
    } else {
        $selectedItem = $listView.SelectedItems[0]
        $pid = $selectedItem.SubItems[1].Text
        Stop-Process -Id $pid -Force
        $listView.Items.Remove($selectedItem)
    }
})
$form.Controls.Add($btnStop)

# Button to get system information
$btnSysInfo = New-Object Windows.Forms.Button
$btnSysInfo.Location = New-Object System.Drawing.Point(290, 170)
$btnSysInfo.Text = "Get System Information"
$btnSysInfo.Add_Click({
    $sysInfo = Get-WmiObject Win32_ComputerSystem
    [System.Windows.Forms.MessageBox]::Show("System Name: $($sysInfo.Name)`nTotal Physical Memory: $([math]::Round($sysInfo.TotalPhysicalMemory / 1GB, 2)) GB")
})
$form.Controls.Add($btnSysInfo)

# Display the form
$form.Add_Shown({ $form.Activate() })
[void]$form.ShowDialog()
This script creates a simple GUI with a List View to display processes, buttons to refresh the process list, stop selected processes, and get system information. You can build upon this template by adding more commands and functionality to meet your specific system administration needs.
See also
PowerShell: https://spca.education/category/systems-engineering/powershell/