Cloud-based Simulation Labs represent a transformative approach to experiential learning. These virtual environments harness the power of cloud technology to provide accessible, scalable, and immersive hands-on experiences for students and professionals. Whether you’re studying science, engineering, medicine, or various other disciplines, these labs offer realistic simulations and experiments that can be accessed remotely from any device with internet connectivity. By eliminating geographical limitations and the need for costly equipment, cloud-based simulation labs democratize education, making it more inclusive and cost-effective. These innovative platforms are reshaping the future of learning, offering flexibility and convenience while ensuring practical, skills-based education.
Feature and benefits
Cloud-based Simulation Labs offer a wide range of features and benefits that enhance the educational and training experience in various fields. Here’s a detailed look at these features and advantages:
Features:
- Accessibility: Cloud-based simulation labs are accessible from anywhere with an internet connection, allowing learners to access experiments and simulations remotely.
- Scalability: They can accommodate a large number of users simultaneously, making them suitable for educational institutions, corporate training programs, and more.
- Realistic Simulations: These labs provide realistic, immersive simulations that mimic real-world scenarios, enabling learners to practice in a safe and controlled environment.
- Diverse Subjects: Cloud-based labs cover a wide range of subjects, from science and engineering to healthcare and business, making them versatile for different educational needs.
- Interactivity: Users can interact with simulations, manipulate variables, and observe outcomes, fostering a deeper understanding of complex concepts.
- Instant Feedback: Learners receive immediate feedback on their actions, allowing them to adjust their approach and learn from their mistakes.
- Collaboration: Many cloud-based labs support collaborative learning, enabling students or team members to work together on projects and experiments in real-time.
- Cost-Effective: They reduce the need for physical equipment and materials, saving institutions money on maintenance and replacement costs.
- Analytics and Data: Cloud labs often provide data analytics, allowing instructors to track student progress and performance, identifying areas where additional support may be needed.
Benefits:
- Flexibility: Learners can access cloud-based labs at their convenience, accommodating various schedules and learning styles.
- Accessibility: Students from different geographical locations can access the same resources, promoting inclusivity and expanding educational reach.
- Risk-Free Learning: Cloud labs offer a safe environment for experiments and simulations, eliminating the potential risks associated with physical labs.
- Reduced Infrastructure Costs: Educational institutions and organizations can save money on building and maintaining physical lab spaces and equipment.
- Enhanced Engagement: Realistic simulations and interactivity make learning more engaging and enjoyable.
- Skill Development: Learners can gain practical skills and hands-on experience that directly apply to their chosen field.
- Remote Learning: Particularly useful during situations like pandemics, cloud-based labs enable seamless remote learning and remote workforce training.
- Time Efficiency: Users can conduct experiments faster and more efficiently than in traditional labs, allowing for more repetitions and variations.
- Personalized Learning: Instructors can customize simulations to suit different skill levels and learning objectives, tailoring the experience to individual needs.
- Environmental Impact: Reducing the need for physical labs can contribute to a reduction in resource consumption and environmental impact.
In summary, cloud-based simulation labs offer a flexible, cost-effective, and immersive way to enhance learning and training experiences across a wide range of fields. Their accessibility and scalability make them valuable tools for institutions, educators, and learners looking to embrace the benefits of hands-on, experiential learning.
Deployments
Creating a cloud-based Cisco Packet Tracer simulation lab
Creating a cloud-based Cisco Packet Tracer simulation lab for computer networking involves several steps. Here’s a detailed guide on how to set it up:
1. Choose a Cloud Provider:
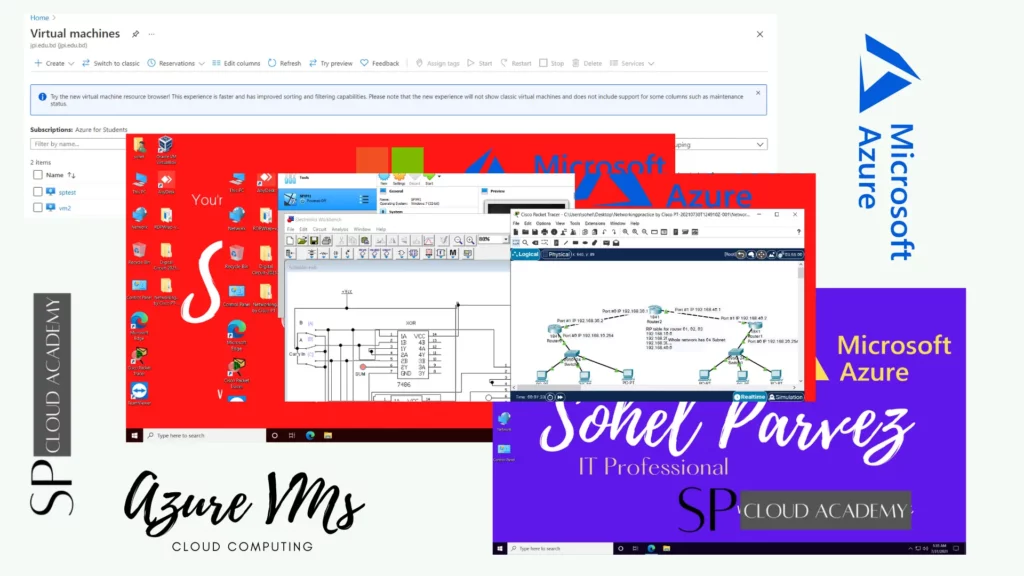
- Select a cloud provider (e.g., AWS, Azure, Google Cloud) where you’ll host your Cisco Packet Tracer lab. Choose one with data center locations convenient for your users.
2. Set Up a Virtual Machine:
- Create a virtual machine (VM) instance on your chosen cloud provider’s platform. Ensure it meets the system requirements for running Packet Tracer.
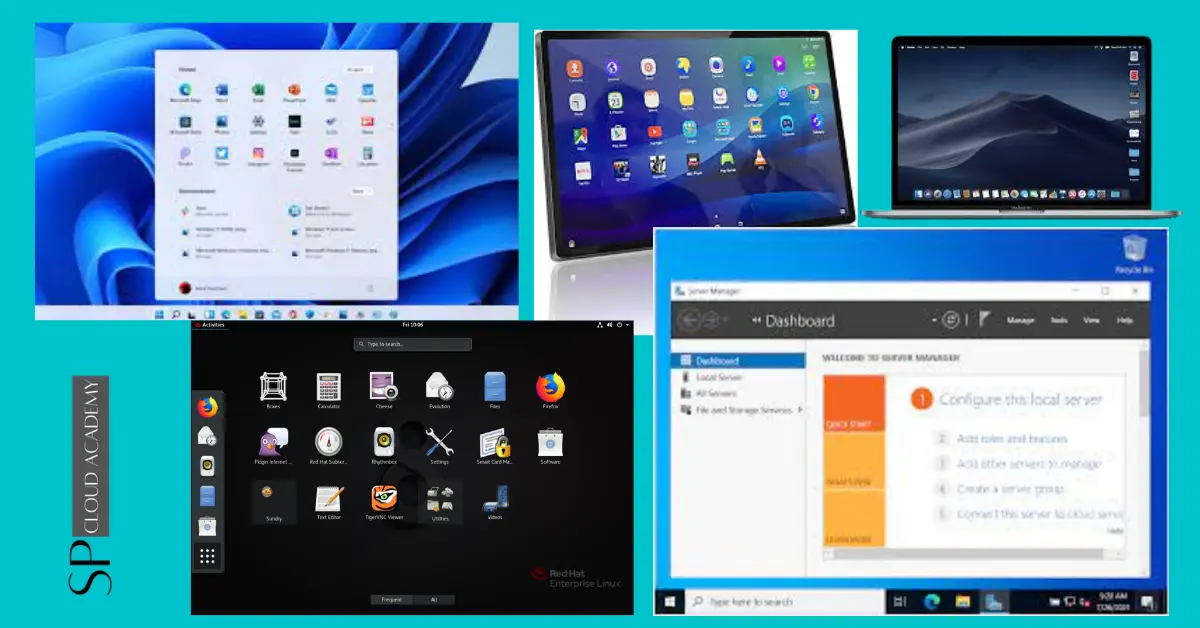
- Choose an appropriate operating system (e.g., Linux) for your VM.
3. Install Virtualization Software:
- Install virtualization software such as VirtualBox or VMware on your VM. This software will allow you to run Packet Tracer within the VM.
4. Download and Install Cisco Packet Tracer:
- Download the Cisco Packet Tracer installer for Linux.
- Install Packet Tracer within your VM following Cisco’s installation instructions.
5. Configure Networking:
- Set up networking configurations for your VM. This includes assigning static IP addresses and configuring DNS settings.
- Configure port forwarding on your cloud provider’s firewall to allow access to Packet Tracer from the internet.
6. Create Lab Scenarios:
- Design networking lab scenarios and configurations that align with your learning objectives.
- Set up network topologies, routers, switches, and end devices as needed.
7. Lab Documentation:
- Create comprehensive lab documentation that includes instructions for users on how to access the lab, connect to devices, and complete lab exercises.
8. Security Measures:
- Implement security measures such as firewalls and access controls to protect your lab environment from unauthorized access.
9. User Authentication and Access Control:
- Implement user authentication mechanisms to control access to the lab environment.
- Define roles and permissions for instructors and learners.
10. Testing and Quality Assurance:
- Thoroughly test lab scenarios and configurations to ensure they work correctly.
- Address any issues or discrepancies.
11. Launch the Lab:
- Make the lab accessible to users by providing them with the VM’s public IP address and access instructions.
12. Monitoring:
- Monitor user activity, resource usage, and lab performance to ensure everything runs smoothly.
13. User Support:
- Offer support channels for users to seek assistance during lab exercises.
- Consider setting up discussion boards or forums for user collaboration.
14. Backups and Disaster Recovery:
- Implement regular backups of lab configurations and user data to prevent data loss.
- Develop disaster recovery procedures in case of system failures.
15. Scaling and Optimization:
- Monitor lab usage and scale resources as needed to accommodate user demand.
- Optimize the performance and cost-efficiency of your cloud-based Packet Tracer lab.
16. Maintenance and Updates:
- Schedule regular maintenance to keep your lab environment up-to-date.
- Apply software updates and security patches for both the VM and Packet Tracer.
17. User Feedback and Improvement:
- Collect user feedback to enhance lab content, instructions, and the overall experience.
18. Compliance and Legal Considerations:
- Ensure compliance with data privacy regulations, especially if user data is involved.
19. Long-Term Planning:
- Plan for the long-term sustainability and expansion of your cloud-based Packet Tracer lab environment.
By following these steps, you can successfully set up a cloud-based Cisco Packet Tracer simulation lab for computer networking, providing a flexible and accessible platform for learners to gain hands-on experience in network configuration and troubleshooting.
Setting up a cloud-based GNS3 or EVE-NG simulation lab
Setting up a cloud-based GNS3 or EVE-NG (Emulated Virtual Environment – Next Generation) simulation lab for computer networking involves several steps. Below is a detailed guide on how to set up such a lab:
1. Choose a Cloud Provider:
- Select a cloud provider (e.g., AWS, Azure, Google Cloud) based on your budget and the availability of data center locations convenient for your users.
2. Create a Virtual Machine:
- Create a virtual machine (VM) instance on your chosen cloud provider’s platform. Ensure it meets the system requirements for running GNS3 or EVE-NG.
- Choose a suitable operating system (usually a Linux distribution like Ubuntu or CentOS) for your VM.
3. Install Virtualization Software:
- Install virtualization software such as VirtualBox, VMware, or KVM on your VM. This software will enable you to run GNS3 or EVE-NG within the VM.
4. Download and Install GNS3 or EVE-NG:
- Depending on your choice (GNS3 or EVE-NG), download and install the respective software following the official installation instructions.
5. Configure Networking:
- Set up network configurations for your VM. Assign static IP addresses, configure DNS settings, and open the necessary ports for remote access.
6. Lab Scenarios and Configurations:
- Design networking lab scenarios and configurations that align with your learning objectives.
- Create network topologies, add routers, switches, and end devices, and configure them as needed.
7. Documentation:
- Create detailed lab documentation with clear instructions for users on how to access the lab, connect to devices, and complete lab exercises.
8. Security Measures:
- Implement security measures, including firewalls and access controls, to protect your lab environment from unauthorized access.
9. User Authentication and Access Control:
- Set up user authentication mechanisms to control access to the lab environment.
- Define roles and permissions for instructors and learners.
10. Testing and Quality Assurance:
- Thoroughly test lab scenarios and configurations to ensure they work correctly.
- Address any issues or discrepancies.
11. Launch the Lab:
- Make the lab accessible to users by providing them with the VM’s public IP address and access instructions.
12. Monitoring:
- Monitor user activity, resource usage, and lab performance to ensure everything runs smoothly.
13. User Support:
- Offer support channels for users to seek assistance during lab exercises.
- Consider setting up discussion boards or forums for user collaboration.
14. Backups and Disaster Recovery:
- Implement regular backups of lab configurations and user data to prevent data loss.
- Develop disaster recovery procedures in case of system failures.
15. Scaling and Optimization:
- Monitor lab usage and scale resources as needed to accommodate user demand.
- Optimize the performance and cost-efficiency of your cloud-based GNS3 or EVE-NG lab.
16. Maintenance and Updates:
- Schedule regular maintenance to keep your lab environment up-to-date.
- Apply software updates and security patches for both the VM and GNS3 or EVE-NG.
17. User Feedback and Improvement:
- Collect user feedback to enhance lab content, instructions, and the overall experience.
18. Compliance and Legal Considerations:
- Ensure compliance with data privacy regulations, especially if user data is involved.
19. Long-Term Planning:
- Plan for the long-term sustainability and expansion of your cloud-based GNS3 or EVE-NG lab environment.
By following these steps, you can successfully set up a cloud-based GNS3 or EVE-NG simulation lab for computer networking, providing a flexible and accessible platform for learners to gain hands-on experience in network configuration and troubleshooting.
Setting up a cloud-based engineering simulator lab
Setting up a cloud-based engineering simulator lab involves several steps to provide an effective, accessible, and collaborative learning environment. Below is a detailed guide on how to set up such a lab:
1. Define Objectives and Requirements:
- Determine the engineering disciplines or subjects you want to cover (e.g., mechanical, electrical, civil).
- Identify the specific simulations and experiments you plan to offer.
- Define the number of users, their locations, and the devices they’ll use.
2. Choose a Cloud Provider:
- Select a cloud service provider (e.g., AWS, Azure, Google Cloud) based on your budget, scalability needs, and available features.
3. Design the Architecture:
- Plan the lab’s architecture, including virtual machines (VMs), storage, networking, and software components.
- Ensure scalability, redundancy, and security are considered.
4. Simulation Software Selection:
- Choose or develop engineering simulation software that aligns with your educational goals.
- Ensure the software can run on virtualized environments.
5. Set Up Virtual Machines:
- Provision VM instances on your chosen cloud provider’s platform.
- Install the necessary operating systems and simulation software on these VMs.
6. Data Management:
- Configure cloud storage solutions for storing simulation data, experiment results, and user-generated content.
- Implement data backup and recovery procedures.
7. Security Measures:
- Implement security measures such as firewalls, access controls, and encryption to protect lab data and user information.
8. User Authentication and Access Control:
- Set up user authentication mechanisms, like usernames, passwords, or single sign-on (SSO).
- Define role-based access control (RBAC) to manage user permissions.
9. Networking Configuration:
- Configure network settings, including subnets, virtual private clouds (VPCs), and load balancers if necessary.
10. Lab Content Development:
- Develop or acquire engineering simulations and experiments suitable for the lab.
- Ensure the content aligns with the curriculum and learning objectives.
11. User Interface and Access Portal:
- Create a user-friendly web-based interface or portal for users to access the engineering simulations.
- Provide clear instructions, user support, and feedback mechanisms.
12. Testing and Quality Assurance:
- Thoroughly test the simulations and the entire lab environment to ensure functionality, performance, and usability.
- Address and resolve any issues or bugs.
13. Documentation and Training:
- Create user manuals, documentation, and training materials to guide users on how to use the simulations effectively.
14. Launch and Monitor:
- Launch the cloud-based engineering simulator lab for users.
- Implement monitoring and logging solutions to track system performance, security, and user activity.
15. User Support:
- Provide user support channels (e.g., helpdesk, FAQs, forums) for troubleshooting and assistance.
16. Backup and Disaster Recovery:
- Regularly back up lab data and implement disaster recovery plans to ensure data integrity and availability.
17. Scaling and Optimization:
- Monitor lab usage and scale resources as needed to accommodate growing user demand.
- Optimize costs by right-sizing VMs and storage.
18. Security Updates and Patch Management:
- Stay vigilant with security updates and patch management to protect against vulnerabilities.
19. User Feedback and Improvement:
- Gather user feedback to make improvements to the simulations and the lab environment.
20. Compliance and Legal Considerations:
- Ensure that your cloud-based engineering simulator lab complies with relevant data privacy laws and regulations.
21. Maintenance and Long-Term Planning:
- Establish a maintenance schedule for regular updates and improvements.
- Plan for the long-term sustainability and evolution of your engineering simulator lab.
By following these steps, you can successfully deploy and manage a cloud-based engineering simulator lab, providing students and professionals with a flexible and immersive learning experience in various engineering disciplines.