In today’s digital era, businesses are increasingly leveraging cloud computing for their IT infrastructure needs. Microsoft Azure, one of the leading cloud platforms, offers a wide range of services including the ability to create virtual machines (VMs) that mimic on-premises environments. One essential aspect of managing an IT infrastructure is the creation of domains, which enable centralized control and administration of user accounts, resources, and security policies. In this comprehensive step-by-step guide, we will explore how to master on-premises domain creation on Azure VMs.
Understanding the benefits of on-premises domain creation
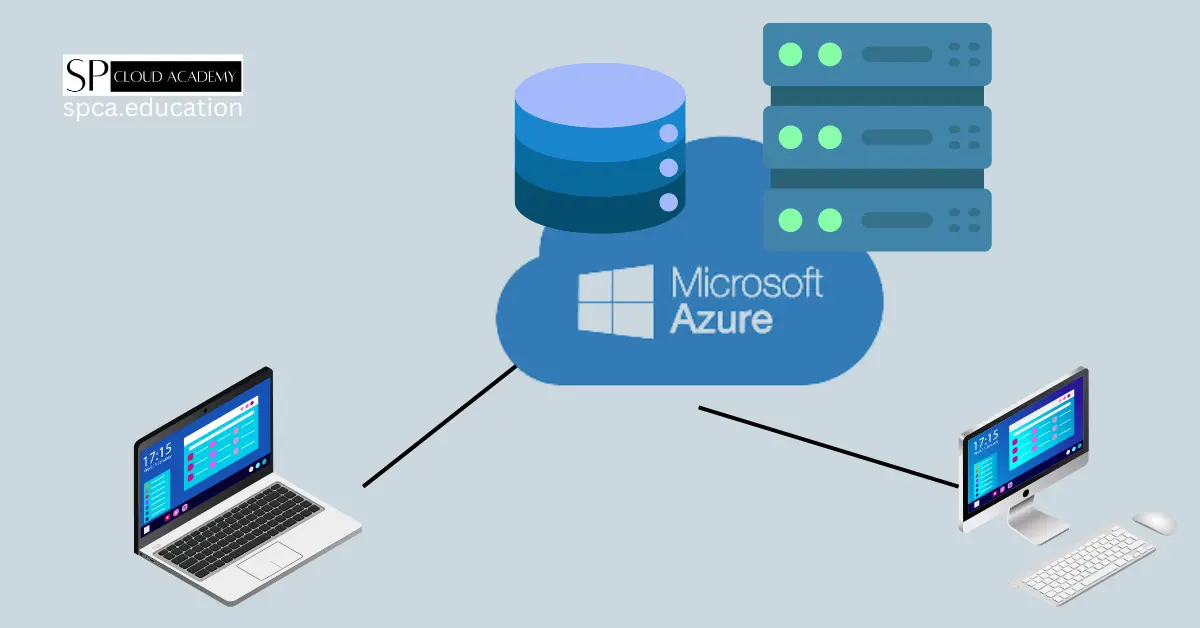
Before diving into the technical details, it’s important to understand the benefits of on-premises domain creation on Azure VMs. By creating a domain, you establish a centralized authority that allows you to manage user accounts, security policies, and resources across multiple machines. This simplifies administration, improves security, and enhances the overall efficiency of your IT infrastructure. With Azure VMs, you can achieve the same level of control and flexibility as you would with an on-premises environment while leveraging the scalability and cost-effectiveness of the cloud.
Preparing your Azure environment for on-premises domain creation
To get started with on-premises domain creation on Azure VMs, you need to prepare your Azure environment. The first step is to ensure that you have an active Azure subscription. If you don’t have one, you can sign up for a free trial or a pay-as-you-go subscription. Once you have your subscription, you need to create a resource group to organize your Azure resources. A resource group is a logical container that holds related resources for easy management.
After creating a resource group, you need to create a virtual network (VNet) in Azure. A VNet is a fundamental building block in Azure networking that enables secure communication between Azure resources. It acts as an isolated network and provides a private IP address space for your Azure VMs. When creating the VNet, you can specify the address space, subnets, and other networking configurations based on your requirements.
Setting up a virtual network in Azure for on-premises domain creation
Setting up a virtual network (VNet) in Azure is a crucial step in on-premises domain creation. To create a VNet, you can use the Azure portal or command-line tools such as Azure PowerShell or Azure CLI. Let’s walk through the steps using the Azure portal.
- Log in to the Azure portal and navigate to the “Virtual networks” page.
- Click on the “Create a virtual network” button.
- Provide a name for your VNet and select the subscription and resource group.
- Choose the region where you want to deploy the VNet.
- Specify the address space and subnet details for your VNet.
- Configure other advanced settings such as DNS servers, security groups, and route tables if required.
- Click on the “Create” button to create the VNet.
Once the VNet is created, you can proceed with configuring Azure Active Directory (Azure AD) for on-premises domain creation.
Configuring Azure Active Directory for on-premises domain creation
Azure Active Directory (Azure AD) is Microsoft’s cloud-based identity and access management service. It integrates with Azure VMs to provide a seamless authentication and authorization experience. To configure Azure AD for on-premises domain creation, follow these steps:
- In the Azure portal, navigate to the “Azure Active Directory” page.
- Click on the “Domains” tab and select the “Add domain” button.
- Enter the name of your domain and select the verification method (e.g., DNS verification or email verification).
- Follow the prompts to verify your domain ownership.
- Once the domain is verified, you can manage user accounts, security groups, and other domain-related settings in Azure AD.
Configuring Azure AD is a critical step as it forms the foundation for creating and managing Azure VMs in an on-premises domain environment.
Creating and configuring Azure VMs for on-premises domain creation
With the Azure environment prepared and Azure AD configured, you can now create and configure Azure VMs for on-premises domain creation. Azure VMs provide the flexibility to deploy various operating systems, including Windows Server, which is commonly used for domain controllers. Here’s a step-by-step guide on creating and configuring Azure VMs:
- In the Azure portal, navigate to the “Virtual machines” page.
- Click on the “Add” button to create a new VM.
- Select the desired operating system and VM size.
- Configure the VM settings, such as the name, username, and password.
- Choose the VNet and subnet that you created earlier.
- Configure the storage options, such as managed disks or storage accounts.
- Review the settings and click on the “Create” button to create the VM.
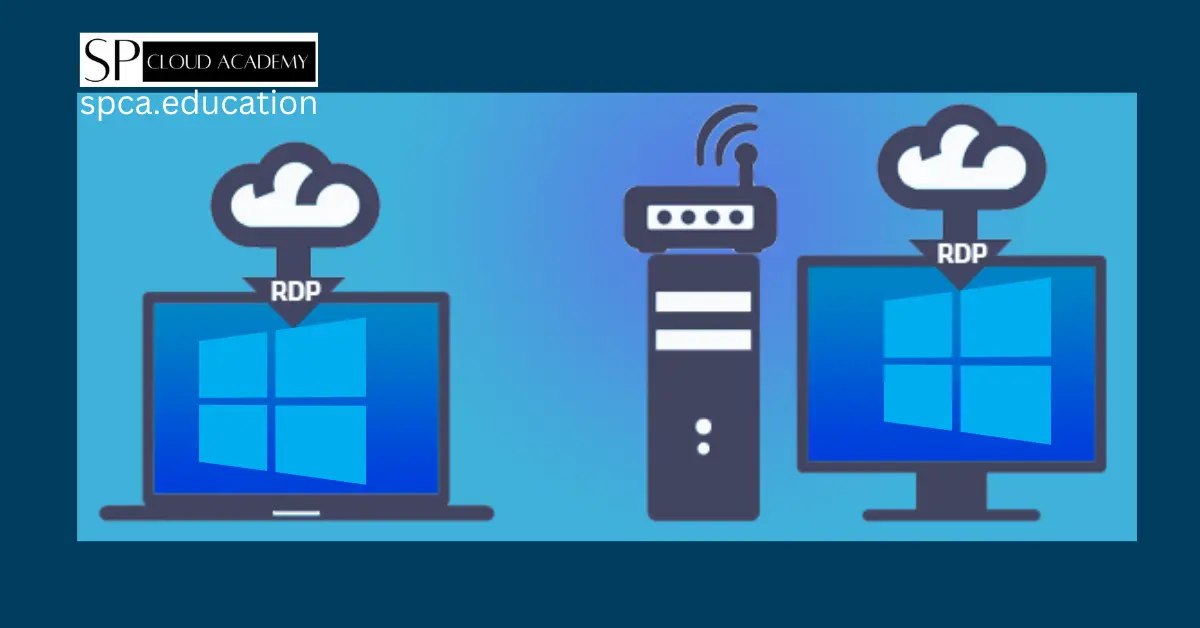
Once the VM is created, you can connect to it using Remote Desktop Protocol (RDP) or Secure Shell (SSH) depending on the operating system. After connecting to the VM, you can proceed with installing and configuring Active Directory Domain Services (AD DS).
Installing and configuring Active Directory Domain Services on Azure VMs
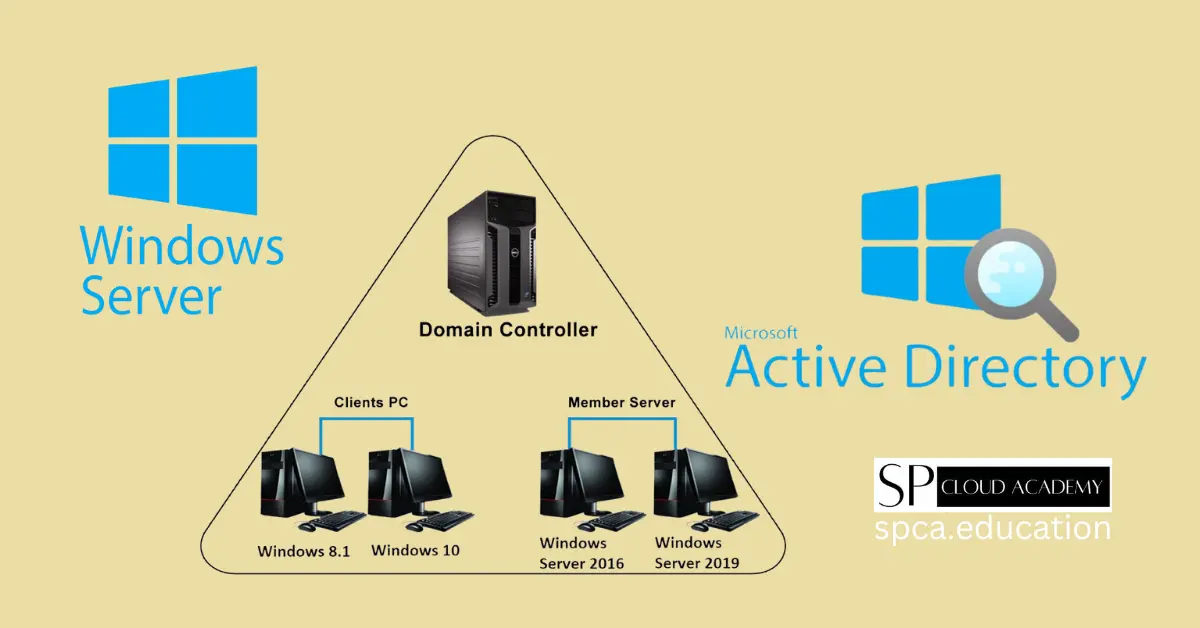
Active Directory Domain Services (AD DS) is a Windows Server role that provides centralized authentication and authorization services. To install and configure AD DS on Azure VMs, follow these steps:
- Connect to the Azure VM using RDP or SSH.
- Open the Server Manager and navigate to the “Add Roles and Features” wizard.
- Select the “Active Directory Domain Services” role and follow the prompts to install it.
- After the installation is complete, open the “Active Directory Domain Services Configuration Wizard” and choose the appropriate configuration option.
- Configure the domain name, administrator password, and other settings as required.
- Follow the wizard to complete the AD DS installation and configuration process.
Once AD DS is installed and configured, your Azure VM becomes a domain controller that can authenticate and authorize users within the on-premises domain.
Joining on-premises machines to the Azure domain
After setting up the domain controller on Azure VMs, you can join on-premises machines to the Azure domain. This enables seamless integration between your existing on-premises infrastructure and the Azure environment. To join on-premises machines to the Azure domain, follow these steps:
- On the on-premises machine, open the “System Properties” window.
- Click on the “Change” button next to the “Computer name” section.
- Select the “Domain” option and enter the fully qualified domain name (FQDN) of the Azure domain.
- Provide the credentials of a user account with sufficient privileges to join the domain.
- Follow the prompts to join the on-premises machine to the Azure domain.
- Restart the machine for the changes to take effect.
Once the on-premises machines are joined to the Azure domain, you can manage them centrally and enforce domain-wide policies and security settings.
Managing and troubleshooting on-premises domain creation on Azure VMs
Managing and troubleshooting an on-premises domain creation on Azure VMs requires a comprehensive understanding of the underlying technologies and tools. Here are some best practices to follow:
- Regularly monitor the health and performance of your Azure VMs using Azure Monitor.
- Use Azure Security Center to identify and mitigate security risks in your domain environment.
- Implement backup and disaster recovery strategies to protect your domain data.
- Stay up-to-date with the latest security patches and updates for your Azure VMs.
- Use Azure Log Analytics to collect and analyze logs for troubleshooting purposes.
By following these best practices, you can ensure the smooth operation of your on-premises domain on Azure VMs and quickly address any issues that may arise.
Best practices for on-premises domain creation on Azure VMs
When it comes to on-premises domain creation on Azure VMs, there are several best practices to keep in mind:
- Plan your domain architecture carefully to ensure scalability and fault tolerance.
- Use availability sets or availability zones to ensure high availability of your domain controllers.
- Regularly backup your domain data and test the restoration process to mitigate data loss risks.
- Implement network security groups and virtual network service endpoints to secure traffic between VMs.
- Enable Azure AD Connect to synchronize on-premises user accounts with Azure AD for seamless authentication.
By following these best practices, you can optimize the performance, security, and reliability of your on-premises domain on Azure VMs.
Conclusion
In this comprehensive step-by-step guide, we explored the process of mastering on-premises domain creation on Azure VMs. We covered the benefits of on-premises domain creation, the steps to prepare your Azure environment, and the configuration of Azure AD. We also discussed the creation and configuration of Azure VMs, the installation and configuration of AD DS, and the joining of on-premises machines to the Azure domain. Additionally, we provided insights into managing, troubleshooting, and implementing best practices for on-premises domain creation on Azure VMs. By following this guide, you can confidently create and manage an on-premises domain on Azure VMs and leverage the power of the cloud for your IT infrastructure.
CTA: Ready to harness the power of on-premises domain creation on Azure VMs? Follow this comprehensive guide to get started today!
See also
Systems Engineering: https://spca.education/category/systems-engineering/
-

Revolutionizing IT: What’s New in Windows Server 2025?
-

Step by Step Domain Creation Process on Windows Server 2019/2022
-

Mastering Windows Server: A Step-by-Step Guide to Domain and Active Directory Services for Beginners and Experts
-

Maximizing Efficiency: A Step-by-Step Guide to Increasing Simultaneous RDP Sessions on Windows Server 2019
-

Microsoft Hyper-V
