Installing XAMPP and configuring WordPress locally is an excellent way to test themes, plugins, and changes to your website without affecting your live site. This comprehensive guide will walk you through the process of setting up XAMPP and configuring WordPress like a pro. By the end, you’ll have a fully functional local WordPress installation.
1. Introduction
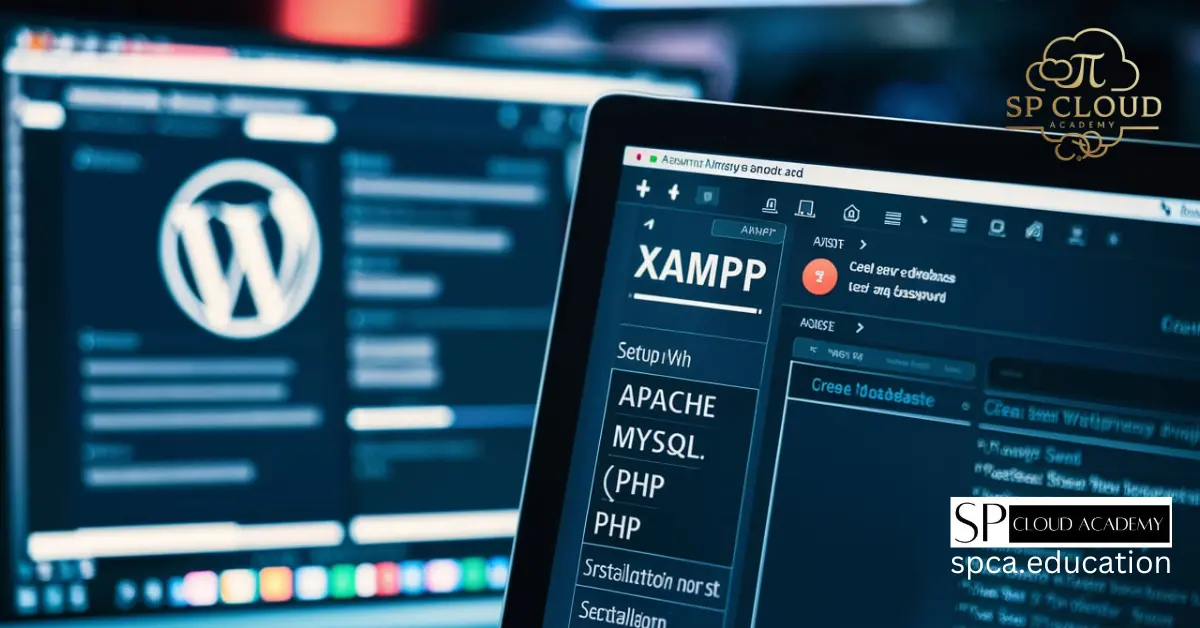
What is XAMPP?
XAMPP is a free, open-source cross-platform web server solution stack package. It includes Apache HTTP Server, MySQL database, and interpreters for PHP and Perl programming languages. The name “XAMPP” stands for X (Cross-Platform), Apache, MySQL, PHP, and Perl. It enables users to create a local server environment on their machine, perfect for developing, testing, and debugging web applications.
Benefits of Using XAMPP for Local Development
- Cost-Efficiency: No need to purchase hosting during development.
- Complete Control: Experiment freely without affecting live environments.
- Faster Debugging: Quickly test changes locally without internet dependency.
Understanding WordPress Local Setup
A local WordPress setup allows you to run your site entirely on your computer, mimicking a live server. This setup is ideal for:
- Developing custom themes and plugins.
- Testing WordPress core updates.
- Experimenting with advanced configurations.
2. Prerequisites
Before diving into the installation process, it’s essential to ensure your system meets the necessary requirements and that you have the tools needed to follow this guide.
System Requirements
To install XAMPP and configure WordPress locally, your system should meet the following minimum requirements:
- Operating System: Windows, macOS, or Linux
- Processor: Dual-core processor or higher
- Memory: At least 4 GB RAM (8 GB recommended for better performance)
- Disk Space: 1 GB of free disk space for XAMPP and additional space for WordPress files
Tools You’ll Need
- XAMPP Installer: Downloaded from the official XAMPP website.
- WordPress Package: Downloaded from WordPress.org.
- Text Editor: A tool like Notepad++, Sublime Text, or Visual Studio Code for editing configuration files.
- Web Browser: Chrome, Firefox, or any other browser for accessing your local WordPress site.
3. Downloading XAMPP
Accessing the Official Website
To get started, visit the Apache Friends website. Apache Friends is the official provider of XAMPP, ensuring a safe and up-to-date installation package.
Choosing the Right Version for Your OS
On the website, you’ll find XAMPP versions tailored for:
- Windows
- macOS
- Linux
Ensure you select the version compatible with your operating system. For most users, the PHP 8.x version is recommended for compatibility with the latest WordPress versions.
4. Installing XAMPP
Step-by-Step Installation Guide
- Run the Installer: Open the downloaded XAMPP file.
- Select Components: Choose the components you need. For WordPress, ensure Apache, MySQL, PHP, and phpMyAdmin are selected.
- Choose Installation Folder: The default location is
C:\xamppon Windows, but you can select any folder. - Start the Installation: Click “Next” and wait for the process to complete.
Key Configuration Settings During Installation
During installation, you might be prompted to adjust the following:
- Ports: Apache typically uses port 80 and 443. Ensure these ports are available on your system.
- Bitnami Option: If prompted, uncheck this unless you plan to use the Bitnami WordPress module.
5. Setting Up XAMPP
Understanding the Control Panel
Once installed, launch the XAMPP Control Panel. It serves as the dashboard to manage your local server. Key elements include:
- Start/Stop Buttons: For managing Apache and MySQL services.
- Logs: For troubleshooting server issues.
- Config Options: To adjust server settings.
Starting Apache and MySQL Services
- Open the XAMPP Control Panel.
- Click Start for both Apache and MySQL modules.
- Verify they’re running by checking the status indicators, which should turn green.
Troubleshooting Common Issues
- Port Conflicts: If Apache fails to start, another application might be using port 80. Reconfigure Apache to use a different port in the configuration settings.
- Firewall Blocks: Allow XAMPP through your system firewall if prompted.
6. Downloading WordPress
Accessing WordPress.org
Visit WordPress.org and download the latest WordPress package. The zip file contains all the necessary files for your local WordPress installation.
Selecting the Latest Version
Always use the most recent version of WordPress to ensure compatibility with modern themes, plugins, and security updates.
Extracting Files
- Unzip the downloaded file.
- Move the extracted folder to the
htdocsdirectory in your XAMPP installation folder (C:\xampp\htdocson Windows).
7. Configuring XAMPP for WordPress
Creating a Local Database
- Open your web browser and navigate to http://localhost/phpmyadmin.
- Click Databases in the top menu.
- Enter a name for your database (e.g.,
wordpress_local) and click Create.
Modifying the wp-config.php File
- Navigate to the WordPress folder in
htdocs. - Open
wp-config-sample.phpin your text editor. - Update the following lines:phpCopyEdit
define('DB_NAME', 'wordpress_local'); define('DB_USER', 'root'); define('DB_PASSWORD', ''); - Save the file as
wp-config.php.
Understanding the File Structure
Key folders in the WordPress directory:
- wp-content: Contains themes, plugins, and uploads.
- wp-includes: Houses core WordPress files.
- wp-admin: Handles the backend of your site.
8. Installing WordPress Locally
Running the WordPress Installer
- Open your browser and navigate to http://localhost/wordpress.
- Follow the on-screen instructions to set your site title, admin username, and password.
Configuring Basic Settings
During installation, you’ll be prompted to:
- Set a site title.
- Create an admin username and strong password.
- Enter an admin email address.
Completing the Installation
Click Install WordPress to finalize the process. You can now log in to your WordPress dashboard at http://localhost/wordpress/wp-admin.
9. Customizing Your Local WordPress Installation
After successfully installing WordPress locally, the next step is to personalize and optimize your site to match your requirements. Customization allows you to explore features, experiment with designs, and test plugins without impacting a live environment.
Adding Themes and Plugins
Installing a Theme
- Navigate to Appearance > Themes: This can be found in the WordPress dashboard.
- Click on Add New: Browse through free themes or upload a premium theme.
- Activate Your Theme: Once installed, activate the theme to see it applied to your local site.
Installing Plugins
- Go to Plugins > Add New: Search for a plugin using the search bar.
- Install and Activate: Click on “Install Now,” then activate the plugin.
- Test Functionality: Experiment with plugin settings to ensure compatibility.
Setting Up Permalinks
Permalinks define how URLs are structured for posts and pages. To configure:
- Go to Settings > Permalinks in the dashboard.
- Choose a structure, such as “Post name” for clean and SEO-friendly URLs.
- Save your changes.
Managing Users
- Navigate to Users > Add New.
- Add a username, email, and assign a role (e.g., Administrator, Editor).
- Create multiple user accounts to test different levels of access.
10. Testing Features Locally
A local WordPress environment is ideal for experimenting with new features without the fear of breaking a live site.
Exploring Theme Customizations
- Open the Customizer from the Appearance menu.
- Modify site identity, colors, header images, and other settings.
- Preview changes in real time.
Plugin Testing and Debugging
- Install plugins like Yoast SEO or WooCommerce.
- Check for conflicts by enabling and disabling plugins.
- Use debugging tools like Query Monitor to analyze performance issues.
Testing Updates and Changes
- Apply updates to WordPress core, themes, or plugins.
- Verify compatibility after updates.
- Test custom code or scripts by adding them to the theme’s
functions.phpfile.
11. Backing Up Your Local WordPress Site
Creating backups ensures you don’t lose progress during experiments or migrations.
Exporting the Database
- Go to phpMyAdmin at http://localhost/phpmyadmin.
- Select your database and click Export.
- Choose the Quick method and save the
.sqlfile.
Backing Up Files
- Copy the entire WordPress folder from
htdocs. - Save it to an external drive or cloud storage.
Tools for Backup Automation
Use plugins like UpdraftPlus or Duplicator to automate local backups and prepare for migrations.
12. Migrating From Localhost to Live Server
Migrating your site from localhost to a live server is the final step when your development work is complete.
Exporting the Local Site
- Use a plugin like All-in-One WP Migration to export your site.
- Save the exported file to your computer.
Importing to a Web Host
- Install WordPress on your live server.
- Use the migration plugin to import your local site files.
- Ensure database credentials are updated in
wp-config.php.
Adjusting URLs and Settings
- Access the WordPress dashboard on the live server.
- Go to Settings > General and update the site and WordPress URLs.
- Use the Better Search Replace plugin to replace old localhost URLs with the live domain.
13. Tips and Best Practices
To make the most of your local WordPress environment, follow these best practices:
Regular Backups
Back up your local site frequently to prevent data loss during testing or unexpected errors.
Managing Multiple Local Sites
Use tools like Local by Flywheel or create separate folders in htdocs for each project.
Securing Your Local Environment
- Avoid using sensitive data in your local setup.
- Regularly update XAMPP, WordPress, and plugins to patch vulnerabilities.
14. Troubleshooting Common Issues
Despite careful setup, you may encounter challenges. Here’s how to resolve them:
Resolving Port Conflicts
If Apache fails to start, change the port settings:
- Open the Apache configuration file.
- Replace
Listen 80withListen 8080. - Restart Apache.
Fixing Database Connection Errors
- Ensure MySQL is running in XAMPP.
- Verify the database name, username, and password in
wp-config.php.
Debugging PHP Errors
Enable debugging by adding this line to wp-config.php:
phpCopyEditdefine('WP_DEBUG', true);
Check error logs for details.
15. Conclusion
Recap of Key Steps
- Install XAMPP and configure it for WordPress.
- Customize and test your site locally.
- Migrate your local site to a live server.
Encouragement to Explore More Features
Your local WordPress environment is a sandbox for limitless experimentation. Explore new themes, plugins, and customizations to hone your skills.
Resources for Advanced Learning
See Also
-

The Ultimate Guide to Promoting Your Website Like a Pro in 2025
-

The Ultimate Domain & Hosting Guide: Everything You Need to Know Before Getting Started
-

Blogger vs WordPress: Which One Suits Your Content Goals Better?
-

The Ultimate Website Monitoring Guide: Keep Your Site Fast, Secure & Online 24/7!
-

Turn Your Google Site into a Dynamic Website: A Step-by-Step Guide
-

The Ultimate Guide to Modern Website Frontend & Backend Architecture
-

Step-by-Step Guide: Deploying a XAMPP Web Hosting Server on Azure Windows VM for WordPress
-
Absolutely Free! Learn the Best Online Tools for Building Websites: A Detailed Guide
-

The Best Website Monitoring Tools to Keep Your Site Running Smoothly