Switching web hosts can feel like a monumental task, often filled with technical jargon and the fear of breaking your website. But it doesn’t have to be. Whether you’re chasing better performance, lower costs, or superior customer support, migrating your website is a manageable process when you have a clear plan.
Think of this guide as your complete roadmap. We’ll break down every essential step, from pre-migration checks to the final DNS switch. We’ll explore the three primary methods of migration—manual, plugin-assisted, and full-service—so you can choose the path that best fits your technical comfort level and needs. By the end, you’ll have the confidence to move your digital home smoothly and without the dreaded downtime.
Let’s demystify the process and get your website on its way to a better hosting environment.
Why Bother Migrating Your Website?
Before diving into the “how,” it’s important to understand the “why.” Moving your website is a strategic decision that can have a significant impact on your business or personal brand. If you’re on the fence, consider if any of these common reasons resonate with you.
1. Poor Performance and Speed: Website speed is a critical factor for both user experience and SEO rankings. If your current host delivers slow loading times, it’s directly hurting your traffic and conversions. A new host with better hardware (like SSDs), server locations, and optimization can provide an instant boost.
2. Unreliable Uptime and Downtime: Is your website frequently offline? Every minute of downtime means lost visitors, potential sales, and a damaged reputation. A reliable host guarantees high uptime (look for 99.9% or higher), ensuring your site is consistently available to your audience.
3. Subpar Customer Support: When something goes wrong, you need fast, knowledgeable support. If you’re stuck waiting hours for a vague response, it’s time to switch. A host with excellent 24/7 support is an invaluable partner.
4. Scaling Needs: Your website has grown, but has your hosting plan kept up? If you’re hitting resource limits and can’t easily upgrade, you need a more scalable hosting solution like a VPS or cloud hosting.
5. Cost and Value: You might be overpaying for features you don’t use or, conversely, getting poor value for your money. Migrating can often lead to significant savings or access to better features for a similar price.
The Pre-Migration Checklist: Don’t Skip These Steps!
A successful migration is 90% preparation. Rushing into the process without a solid plan is the quickest way to encounter errors and extended downtime. Before you move a single file, work through this essential pre-migration checklist.
- Choose Your New Host: This is the most critical decision. Research providers based on your needs (performance, support, price, scalability). Read reviews, compare features, and purchase your new hosting plan. You’ll need access to your new server to begin the migration.
- Take a Full Inventory: Make a list of everything that makes up your website. This includes all website files, databases, email accounts associated with your domain, cron jobs (scheduled tasks), and any special server configurations. Forgetting a crucial component, like a cron job that handles automated tasks, can cause hidden problems later.
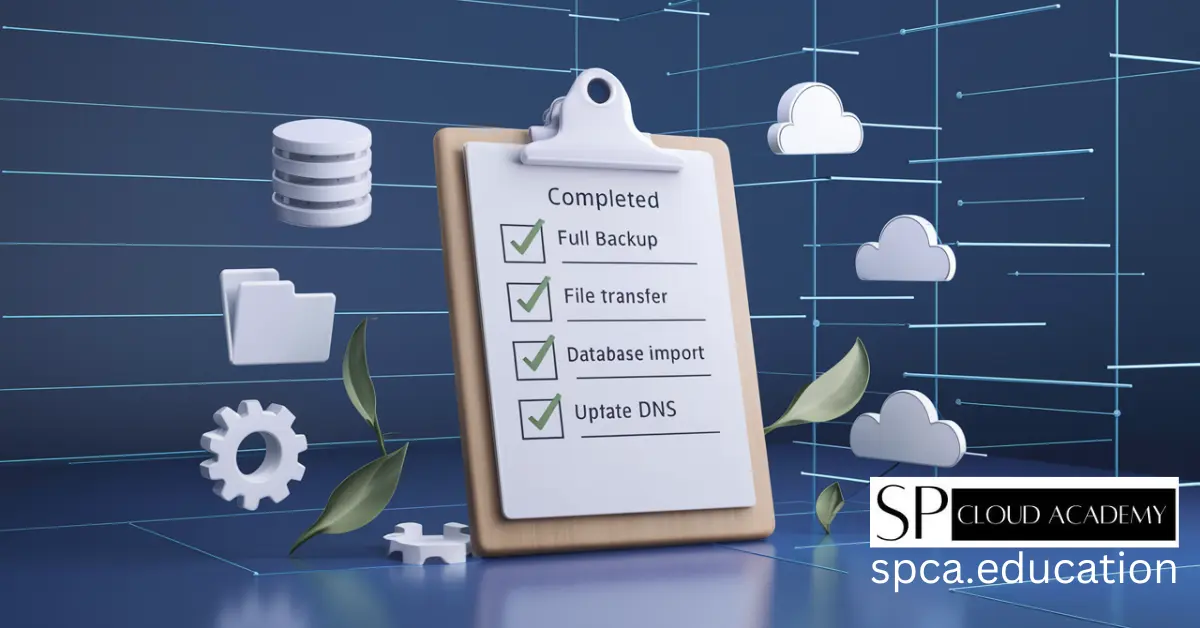
- Perform a Complete Backup: This is your non-negotiable safety net. Before you do anything else, create a full backup of your website files and databases. Most hosting control panels (like cPanel) have a backup wizard that can generate a single compressed file. Download this backup and store it safely on your local computer.
- Schedule the Migration: Choose a time for the migration when your website experiences the lowest amount of traffic. This is typically late at night or over a weekend. This minimizes the impact on your visitors if you run into any unexpected issues.
Method 1: The Manual Migration (The DIY Approach)
The manual method gives you complete control over the process. It’s perfect for those who want to understand the nuts and bolts of their website. It involves two main parts: moving your files and moving your database.
Step 1: Migrating Your Website Files
Your website’s files include everything from your CMS (like WordPress or Joomla!), themes, plugins, and uploaded images. The most common way to move them is with an FTP (File Transfer Protocol) client.
- Install an FTP Client: If you don’t have one, download and install a free FTP client like FileZilla.
- Connect to Your Old Host: Open FileZilla and use the FTP credentials provided by your old host (Host, Username, Password, Port) to connect.
- Download Your Files: Once connected, you’ll see your local files on the left and your remote server files on the right. Navigate to your website’s root directory (usually public_html or www). Select all files and directories and drag them to a folder on your local computer. This download can take time depending on your site’s size.
- Connect to Your New Host: Disconnect from the old server. Now, use the FTP credentials from your new hosting provider to connect to the new server.
- Upload Your Files: Navigate to the root directory on your new server (again, likely public_html). Drag all the files you just downloaded from your local computer to the new server.
Step 2: Migrating Your Database
Your database stores all your content, like posts, pages, user information, and settings.
- Export from Old Host: Log in to your old host’s cPanel and open phpMyAdmin. Select your website’s database from the left-hand menu. Click the Export tab at the top. Choose the “Quick” export method and ensure the format is SQL. Click “Go” to download the .sql file to your computer.
- Create New Database on New Host: Log in to your new host’s cPanel. Find the MySQL Databases tool. Create a new database and a new database user. Crucially, add the new user to the new database and grant it “All Privileges.” Write down the database name, username, and password—you will need them soon.
- Import to New Host: Open phpMyAdmin on your new host. Select the new, empty database you just created. Click the Import tab. Click “Choose File” and select the .sql file you downloaded earlier. Click “Go” to start the import.
The Crucial Step: Updating Your Configuration File
After migrating your files and database, there’s one final, critical step: telling your website how to connect to the new database. This is done by editing your site’s main configuration file. If you skip this, your site will show a “Database Connection Error.”
You can edit this file via your new host’s File Manager or by re-downloading it via FTP, editing it, and re-uploading it.
For WordPress (wp-config.php)
The WordPress configuration file is named wp-config.php and is located in your website’s root directory. Find these lines and update them with the new database details you created.
Example:Generated php
// --- BEFORE MIGRATION (Old Database Info) ---
define( 'DB_NAME', 'old_database_name' );
define( 'DB_USER', 'old_database_user' );
define( 'DB_PASSWORD', 'old_strong_password' );
define( 'DB_HOST', 'localhost' ); // This might be different

// --- AFTER MIGRATION (New Database Info) ---
define( 'DB_NAME', 'new_database_name_you_created' );
define( 'DB_USER', 'new_user_you_created' );
define( 'DB_PASSWORD', 'new_password_you_set' );
define( 'DB_HOST', 'localhost' ); // Confirm this with your new host
For Joomla! (configuration.php)
Joomla’s configuration file is configuration.php, also in the root directory. Look for these variables and update them.Generated php
// --- BEFORE MIGRATION ---
public $host = 'localhost';
public $user = 'old_joomla_user';
public $password = 'old_joomla_password';
public $db = 'old_joomla_database';

// --- AFTER MIGRATION ---
public $host = 'localhost'; // Confirm with new host
public $user = 'new_joomla_user';
public $password = 'new_joomla_password';
public $db = 'new_joomla_database';
Always use the exact database name, username, and password you created on the new server.
Method 2: Using a Migration Plugin (The Semi-Automated Route)
If you use a CMS like WordPress, plugins can automate the entire migration process, bundling your files and database into a single package. This is an excellent, user-friendly option that avoids manual FTP and database work.
Popular WordPress migration plugins include All-in-One WP Migration and Duplicator. The general process is similar for most:
- Install the Plugin on Your Old Site: From your WordPress dashboard, go to Plugins > Add New and install your chosen migration plugin.
- Create the Export Package: Follow the plugin’s instructions to create an export file. This will package your entire site—files, database, plugins, and themes—into one downloadable file (e.g., a .wpress file for All-in-One WP Migration).
- Set Up a Fresh WordPress Install on the New Host: On your new hosting account, install a clean, empty version of WordPress. Most hosts offer a one-click installer for this.
- Install the Same Plugin on the New Site: Log in to your new, empty WordPress site and install the exact same migration plugin.
- Import the Package: Find the plugin’s “Import” function and upload the package file you downloaded from your old site. The plugin will handle the rest, unpacking your files, importing the database, and even updating the configuration details for you.
This method is incredibly efficient and greatly reduces the chance of human error.
Method 3: The Full-Service Migration (The Hands-Off Option)
If the thought of touching files and databases makes you nervous, there’s a third option: let your new host do it for you. Many hosting providers, especially managed WordPress hosts, offer free or paid professional migration services to win your business.
This is the most straightforward method:
- Check with Your New Host: When signing up, ask if they offer a migration service. Confirm if it’s free and what the terms are (e.g., they might migrate one site for free).
- Provide Your Old Host’s Credentials: Typically, you’ll open a support ticket and securely provide them with your old hosting account’s login details (cPanel URL, username, and password).
- Sit Back and Relax: Their expert team will handle the entire process of copying files, moving the database, configuring everything on the new server, and testing to ensure it works.
The primary benefit is peace of mind. The downside is that it can sometimes take longer than doing it yourself, depending on the support team’s queue, and you have less control over the timing.
Post-Migration: Testing and Pointing Your Domain
Your site is now copied to the new server, but the world doesn’t know it yet. Before you make the final switch, you must test it to ensure everything works perfectly.
Step 1: Previewing Your Site on the New Server
You can’t just type your domain into the browser, as it still points to your old host. Instead, you can “trick” your computer into looking at the new server by editing your local hosts file.
- Find Your New Server’s IP Address: This will be listed in your new hosting account’s dashboard.
- Edit Your hosts File:
- On Windows: C:\Windows\System32\drivers\etc\hosts (open Notepad as an Administrator to edit).
- On Mac/Linux: /etc/hosts (use sudo nano /etc/hosts in the terminal).
- Add an Entry: At the bottom of the file, add a line with the new server’s IP address and your domain name, like this:
192.168.1.100 yourdomain.com www.yourdomain.com
(Replace 192.168.1.100 with your actual server IP). - Test: Save the file, clear your browser cache, and visit your website. It should now load from the new server. Click through your pages, test forms, and check for broken images. Once you’re sure it works, remove the line from your hosts file.
Step 2: Updating Your DNS
The final step is to tell the internet where your website’s new home is. This is done by changing your domain’s nameservers.
- Find Your New Nameservers: Your new host will provide you with at least two nameservers (e.g., ns1.newhost.com and ns2.newhost.com).
- Log in to Your Domain Registrar: This is where you bought your domain name (e.g., GoDaddy, Namecheap, Google Domains), which may be different from your old host.
- Update Nameservers: Find the DNS or nameserver management section. Replace the old host’s nameservers with the new ones.
- Wait for Propagation: This change isn’t instant. It can take anywhere from a few hours to 48 hours to spread across the internet in a process called DNS propagation. During this time, some visitors will see the old site and some will see the new one. This is why you scheduled the migration during a low-traffic period!
Conclusion: Your Successful Migration Awaits
Web hosting migration is a journey with several paths. Whether you choose the complete control of a manual migration, the convenience of a plugin, or the hands-off ease of a full-service transfer, a smooth transition is within your reach.
By following a clear checklist, preparing meticulously, and testing thoroughly, you can move your website with confidence. You’ve now got the power guide to ensure your site not only survives the move but thrives in its new, improved hosting environment.
See Also
-

Effortless WordPress Deployment: A Complete Guide with Bitnami Application
-
Full Stack Web Development: Skills, Tools, and Career Opportunities
-
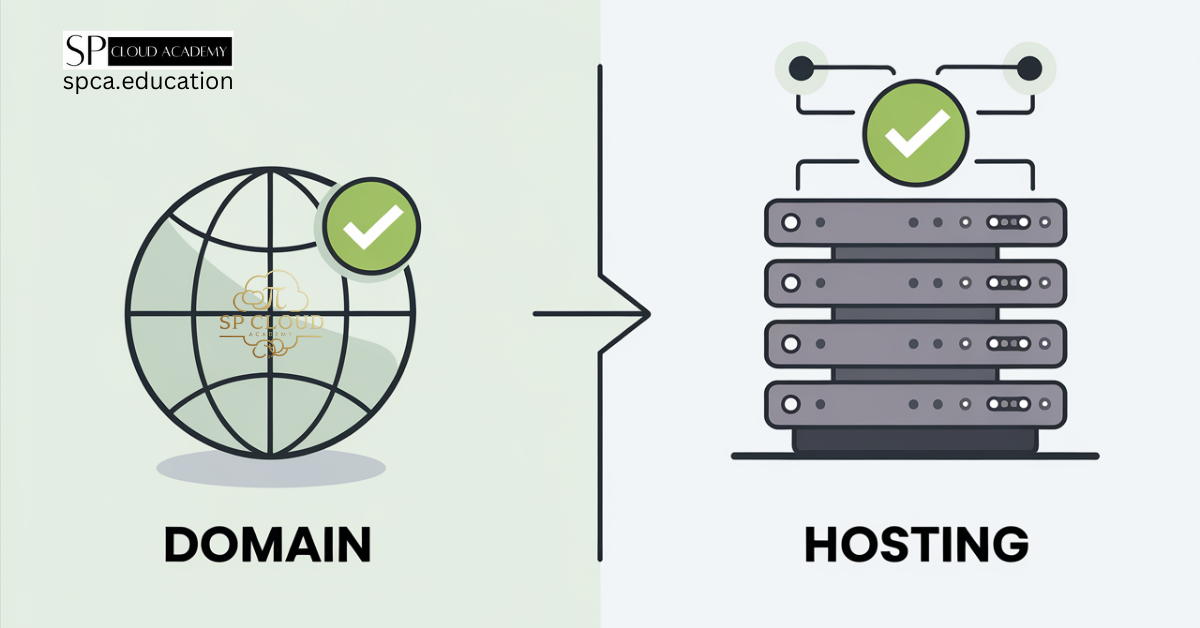
The Ultimate Beginner’s Guide to Understanding Domain and Hosting
-
How to Develop Clear Guest Posting Guidelines for Your Personal Blog
-

How Cloudflare Supercharges Your Website: The Ultimate Guide to Speed and Security
-
The Ultimate Guide to Stress-Free Website Project Management
-

Master Google Search Console: A Complete Guide for Boosting Your Website’s Performance
-
How Search Engines Work: The Complete Guide
-

Master the Art of cPanel Cleanup: Boost Your Website’s Performance in 5 Easy Steps
-
Boost Your Website Speed Instantly with a Content Delivery Network!
-

Unlocking the Secrets of SEO
-

The Ultimate Guide to Building High-Quality Backlinks for Your WordPress Site