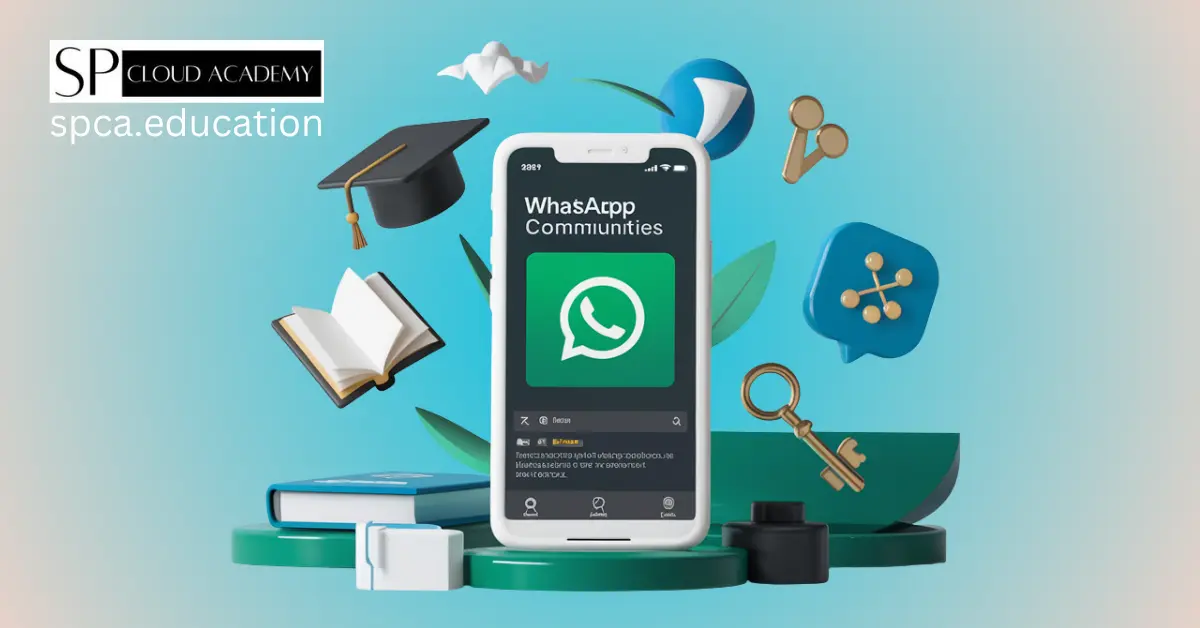
In an era where instant communication is king, educational institutions are constantly searching for better ways to connect with students, parents, and staff. Gone are the days of relying solely on printed circulars that get lost in backpacks or emails that sit unread. Enter WhatsApp Communities—a powerful, organized, and familiar tool that can revolutionize how your school or classroom communicates.
If you’ve ever felt overwhelmed by scattered group chats or longed for a single, streamlined channel for important announcements, you’re in the right place. This comprehensive guide will walk you through everything you need to know. We’ll cover the step-by-step process of setting up your educational community, structuring it for maximum impact, and unveiling the admin secrets that will make management a breeze. Prepare to transform your communication strategy from chaotic to controlled, and from ignored to engaged.
Why WhatsApp Communities are a Game-Changer for Education
Before diving into the “how,” let’s understand the “why.” Traditional WhatsApp groups are great for casual chats, but they can quickly become noisy and disorganized, especially with large numbers. WhatsApp Communities solve this by acting as an umbrella that houses multiple related groups under one roof.
The primary advantage is centralized, one-way communication. Every Community has a default “Announcement” group where only admins can post. This is perfect for sending out critical updates like school closures, exam schedules, or event reminders without the clutter of replies and off-topic discussions. Imagine sending a single message that reliably reaches every parent or student instantly.
Furthermore, Communities offer:
- Enhanced Organization: Instead of one massive group, you can create separate groups for different classes, subjects, or extracurricular activities (e.g., “Grade 10 – Science,” “Parent-Teacher Council,” “Debate Club”), all neatly filed under the main Community.
- High Engagement: With billions of users, nearly everyone has and actively checks WhatsApp. Your messages have a much higher chance of being seen compared to emails or portal notifications.
- Privacy and Control: Unlike public social media pages, a WhatsApp Community is a closed environment. Admins have full control over who joins and who can post in specific sub-groups, ensuring a safe and focused space for learning.
Getting Started: Your Step-by-Step Guide to Creating a WhatsApp Community
Ready to build your digital campus? Creating a WhatsApp Community is surprisingly straightforward. Follow these simple steps to get your educational hub up and running in minutes.
Step 1: Find the Communities Tab
Open WhatsApp on your phone. On the top of your chats list (Android) or at the bottom navigation bar (iOS), you’ll see a tab with three-person icon. This is the Communities tab. Tap on it.
Step 2: Create Your Community
Tap on “New Community.” You’ll be prompted to give your Community a name and a description.
- Name: Be clear and official, e.g., “Northwood High School” or “Ms. Davis’ Grade 5 Class.”
- Description: Briefly explain the purpose of the community, e.g., “Official channel for all announcements, schedules, and updates for the 2023-24 academic year.”
Step 3: Add Your Groups
This is where the magic happens. You have two options:
- Create New Group: You can create fresh groups specifically for your Community. This is recommended for a clean start.
- Add Existing Groups: If you already manage relevant groups, you can add them directly to the Community. WhatsApp will automatically add all participants from those groups to the Community’s main Announcement group.
Step 4: Invite Members and Go Live!
Once you’ve structured your groups, your Community is created! The Announcement group will be ready for your first message. You can now share the Community invite link with parents, students, or staff to have them join.
Structuring Your Educational Community for Maximum Impact
A well-structured community is the key to long-term success. Think of your Community as a digital school building. The main Community is the building itself, the Announcement group is the principal’s office for official notices, and each sub-group is a different classroom or club room.
The Announcement Group is your most powerful tool. Reserve it strictly for one-way, essential information from admins. This ensures that when a notification from this group appears, everyone knows it’s important.
Beyond that, consider creating dedicated sub-groups for specific purposes. This prevents information overload and encourages focused discussion. Here are some effective ideas:
- Subject-Specific Groups: Create groups like “Grade 8 – Math Q&A” or “Physics Project Crew.” This allows students to ask subject-related questions and collaborate without disturbing the entire Community. You can make these open for all members to chat.
- Parent-Teacher Groups: A dedicated group for parents of a specific class can facilitate discussions about homework, class activities, and volunteer opportunities.
- Extracurricular Hubs: Groups for the “Sports Team,” “Art Club,” or “Science Fair Participants” keep all related communication organized in one place.
- Resource Sharing Group: Create a group where only admins can post, dedicated to sharing useful links, documents, and educational videos.
By segmenting your communication, you empower members to join only the conversations relevant to them, making the entire experience more valuable and less noisy.
The Admin’s Toolkit: Essential Secrets for Smooth Management
Being a Community admin comes with responsibility, but these secrets will make your job much easier and more effective.
Secret #1: Establish Clear Ground Rules
Your first post in the Announcement group should be the community guidelines. Create a clear document or a pinned message outlining the rules. Include things like:
- The purpose of each group.
- Appropriate hours for messaging (e.g., no messages after 9 PM).
- A zero-tolerance policy for spam, bullying, or inappropriate content.
- A reminder to keep conversations on-topic.
Secret #2: Delegate, Don’t Dictate
You don’t have to manage everything alone. Add co-teachers, department heads, or even responsible parent volunteers as admins for the main Community or specific sub-groups. This shares the workload and ensures the community stays active and moderated even when you’re busy.
Secret #3: Master the Polls Feature
Need to decide on a date for a field trip or get quick feedback on a new initiative? Use the poll feature within groups. It’s a fast, democratic, and organized way to gather opinions without a long, messy chain of replies.
Secret #4: Use All the Tools at Your Disposal
Don’t just send text. Share PDF documents for worksheets, use voice notes to explain a complex concept personally, or share a live location for an off-campus event. Using varied media keeps engagement high and delivers information more effectively.
Best Practices: Keeping Your Community Engaged and Secure
Creating the community is just the beginning. Nurturing it requires a focus on both engagement and security.
For Engagement:
- Be Consistent: Post regular updates in the Announcement group so members learn to rely on it as their primary source of information.
- Celebrate Success: Use the platform to share good news. Acknowledge student achievements, successful events, or positive parent feedback. This fosters a positive community spirit.
- Ask for Participation (in the right place): Encourage discussions and questions in the designated sub-groups. An admin can kickstart a conversation by posting a relevant question or article.
For Security and Privacy:
- Guard the Invite Link: Be mindful of where you share the Community invite link. If it gets into the wrong hands, you can easily reset it in the Community settings, which deactivates the old link.
- Educate on Digital Citizenship: Remind all members, especially students, never to share sensitive personal information like home addresses or phone numbers in the groups.
- Moderate Actively: Regularly check the discussion groups to ensure rules are being followed. Don’t hesitate to remove members who are consistently disruptive. A safe environment is a prerequisite for a healthy community.
- Review Member Lists: Periodically review who is in the community to ensure only current students, parents, and staff have access.
Conclusion: Embrace the Future of Educational Communication
WhatsApp Communities offer a transformative solution for educational communication, bridging the gap between institutions and their stakeholders with unparalleled ease and efficiency. By moving away from fragmented chats and unreliable methods, you can create a centralized, organized, and highly engaging digital hub.
The key lies in thoughtful setup, clear structure, and consistent management. By establishing ground rules, delegating responsibilities, and leveraging the platform’s features, you can build a thriving community that enhances learning, strengthens partnerships with parents, and streamlines administrative tasks.
Start small, be intentional with your structure, and watch as this familiar tool becomes an indispensable part of your educational ecosystem.
See Also
-
WhatsApp for Education: Step-by-Step Community Setup and Admin Secrets Revealed
-
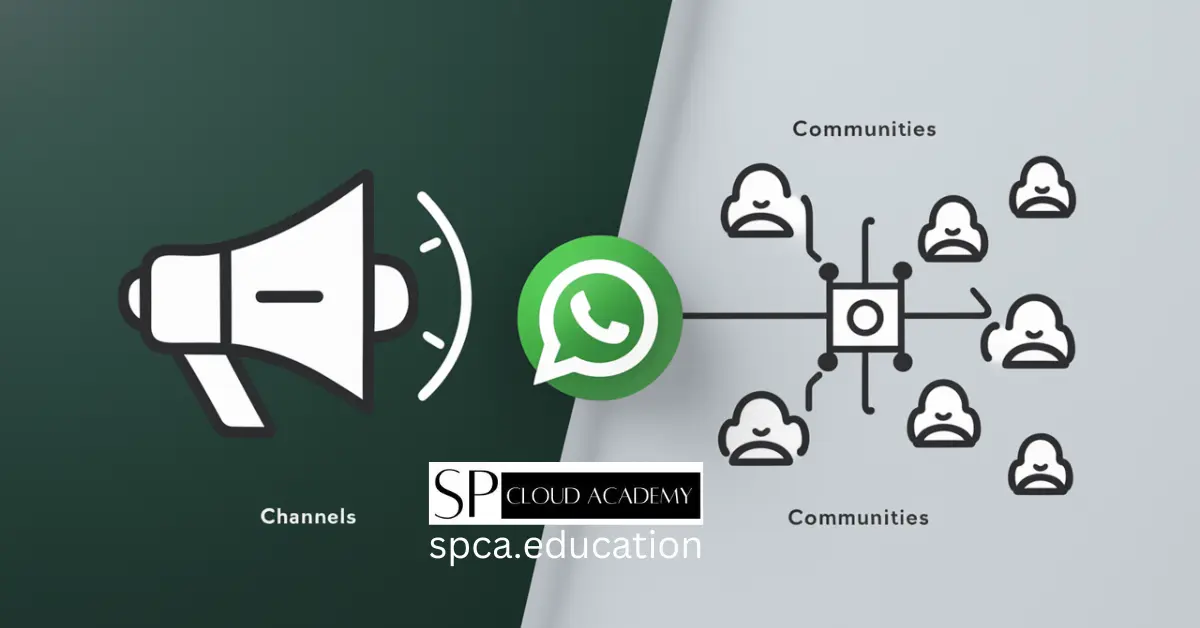
WhatsApp Channels vs. Communities: The Ultimate Guide to Creation and Administration
-

WhatsApp 2025 Ultimate User Manual: Hidden Features, Tips & Tricks Revealed
-

The Future of Education: AI Tutors and Immersive Learning
-

Google Books: Unlocking a World of Knowledge at Your Fingertips
-

Personalized Learning Made Simple: The Ultimate Tools for Educators
-

How Adaptive Learning Systems Are Revolutionizing Education in the Digital Age
-

Top 10 Online Dictionaries You Didn’t Know Could Boost Your Writing Skills
-

How to Develop Clear Guest Posting Guidelines for Your Personal Blog
-

Unleashing the Power of ICT: Becoming an Effective Educator in the Digital Age
-
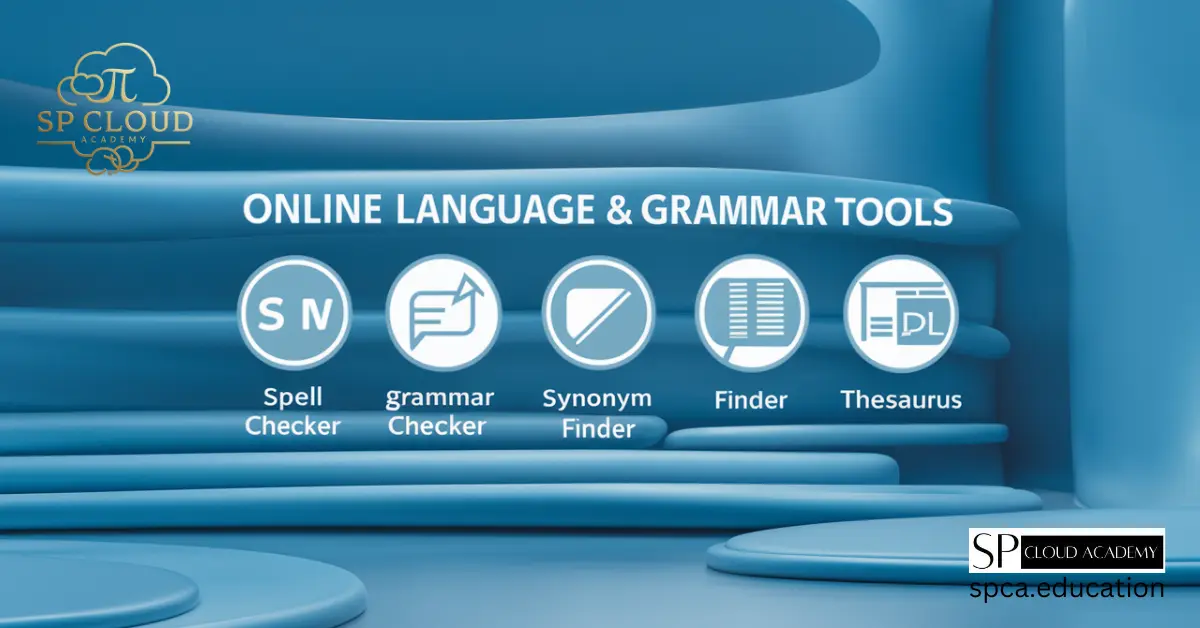
Master Your Writing: The Top Online Language and Grammar Tools You Need
-

Why Virtual Learning Environments Are the Key to Modern Education Success