Live streaming has exploded in popularity, transforming how we connect, entertain, and share our passions with the world. Whether you’re a gamer, a musician, a teacher, or a creative soul, a personal live studio can take your streams from amateur to pro-level. But building a studio that’s functional, professional, and engaging can feel overwhelming—where do you even begin?
This ultimate guide is here to simplify the process. We’ll walk you through everything you need to know to create a personal live studio that boosts your stream quality and captivates your audience. From planning your space and picking the right gear to optimizing your setup and growing your channel, this article is packed with actionable tips for beginners and seasoned streamers alike. Let’s dive in and level up your stream!
Table of Contents
- Planning Your Studio Space
- Essential Equipment for Your Live Studio
- Advanced Gear for Pro-Level Streaming
- Software and Streaming Platforms
- Setting Up Your Studio: A Step-by-Step Guide
- Optimizing Your Stream Quality
- Engaging Your Audience Like a Pro
- Troubleshooting Common Streaming Issues
- Monetization and Growing Your Stream
- Conclusion: Your Studio, Your Stage
Planning Your Studio Space
Before you unbox a single piece of equipment, planning your studio space is the foundation of a successful live streaming setup. Your environment affects audio quality, lighting, and how professional your stream looks. Here’s how to nail the basics.
Choosing the Perfect Location
- Dedicated Area: Pick a quiet spot in your home—a spare room, a corner of your bedroom, or even a basement. A dedicated space reduces interruptions and keeps you focused.
- Space Requirements: Ensure your area has enough room for your desk, chair, and equipment. You’ll need space to move around and adjust camera angles comfortably.
- Background Appeal: Your background is what viewers see, so keep it clean and intentional. A plain wall, a bookshelf, or a custom banner works well. Avoid cluttered or distracting backdrops.
Mastering Acoustics
- Soundproofing Basics: Echoes and background noise can ruin your audio. Add foam panels, rugs, or curtains to dampen sound. Even a closet full of clothes can work in a pinch!
- Mic Placement: Keep your microphone away from noisy sources like fans, windows, or air vents. A well-positioned mic cuts down on unwanted sounds.
Lighting Fundamentals
- Natural Light: A window can provide soft, natural light, but beware of changing conditions (like sunset). Use curtains to control it.
- Artificial Options: Invest in affordable lighting like ring lights or LED panels. Soft, diffused light flatters your face and eliminates harsh shadows.
Comfort and Ergonomics
- Seating: A comfy chair with good back support is a must—you’ll be sitting for hours. Gaming chairs or ergonomic office chairs are solid picks.
- Desk Height: Your desk should align with your chair so your arms rest naturally. Keep your monitor at eye level to avoid neck strain.
A well-planned space sets the stage for a pro-level stream. Next, let’s gear up with the essentials.
Essential Equipment for Your Live Studio
Your studio’s equipment is the backbone of your stream’s quality. You don’t need to splurge on everything at once—start with these must-haves and upgrade as you grow.
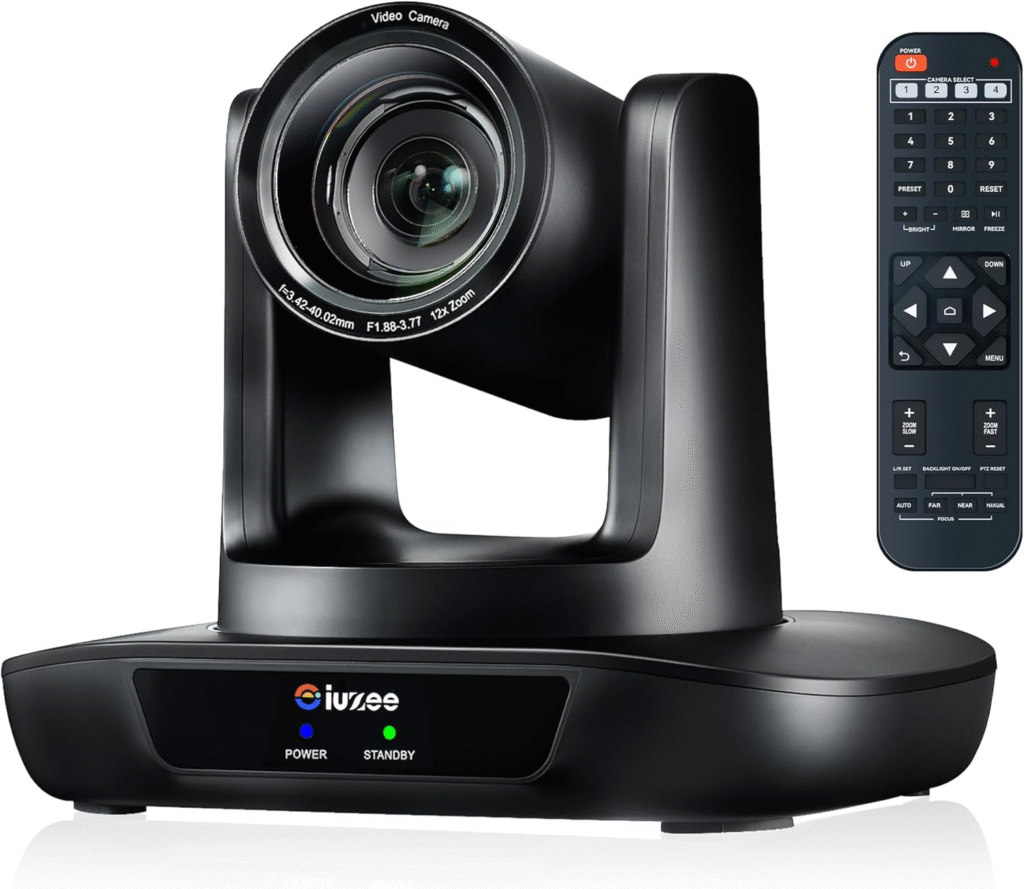
1. Camera: Your Visual Gateway
- Webcam Option: For beginners, a Logitech C920 or C922 offers crisp 1080p video at an affordable price.
- DSLR Upgrade: Want a cinematic look? Pair a DSLR (like a Canon EOS M50) with a capture card for stunning visuals.
- Specs to Know: Aim for 1080p resolution and 30 fps. Higher specs like 4K or 60 fps are great but demand more bandwidth.
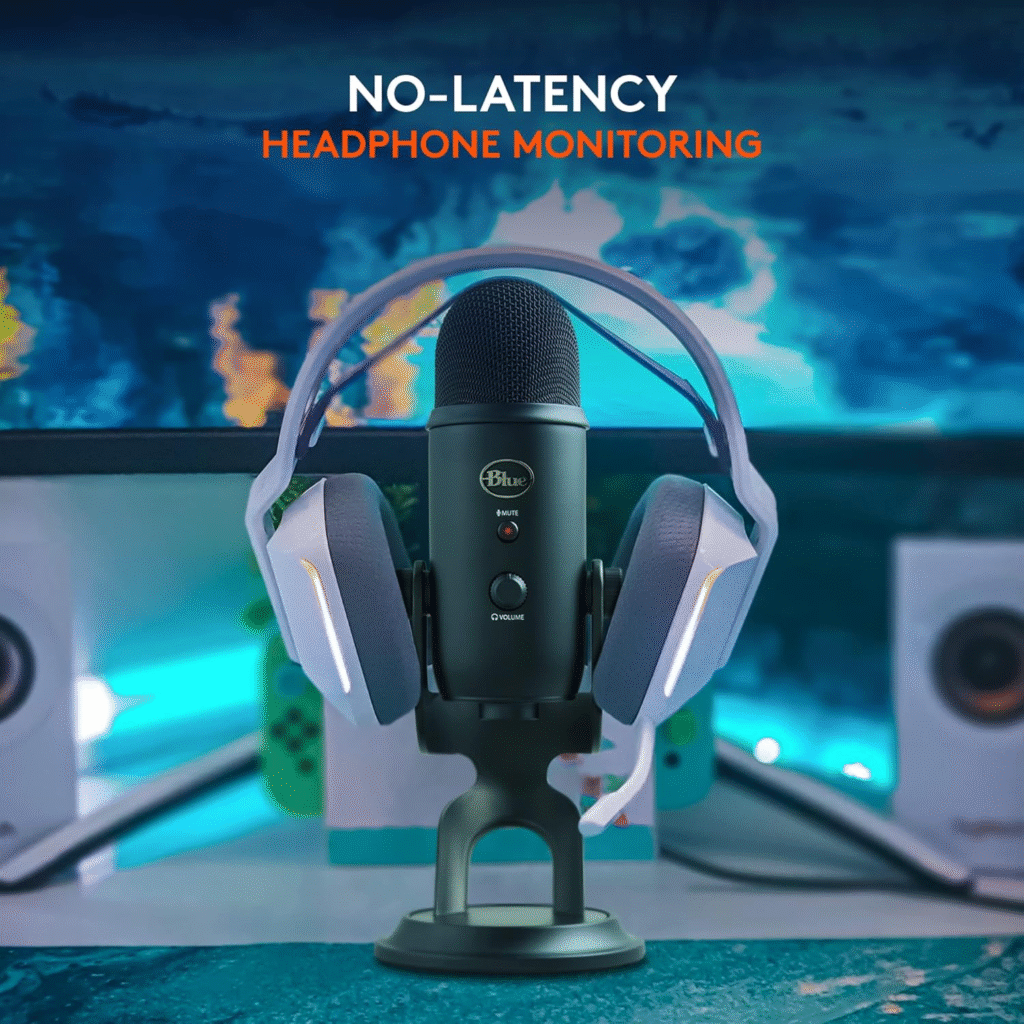
2. Microphone: Audio That Pops
- USB Mics: Plug-and-play options like the Blue Yeti or Audio-Technica ATR2100x are beginner-friendly and deliver solid sound.
- XLR Mics: For richer audio, go XLR (e.g., Shure SM58) with an audio interface. It’s a step up in quality and flexibility.
- Extras: Add a pop filter to soften “p” and “b” sounds, and a shock mount to reduce desk vibrations.
3. Lighting: Brighten Your Presence
- Key Light: Your main light source—place it in front of you for even illumination.
- Fill Light: A softer light to balance shadows, angled slightly to the side.
- Affordable Picks: Ring lights (10-18 inches) or small softboxes are streamer favorites.
4. Computer: The Powerhouse
- Desktop vs. Laptop: Desktops offer better performance and cooling, but laptops work if portability matters.
- Minimum Specs: An Intel i5 or AMD Ryzen 5, 16GB RAM, and an SSD. Add a GPU (like NVIDIA GTX 1660) for gaming or heavy encoding.
- Storage: 500GB+ keeps your recordings and assets handy.
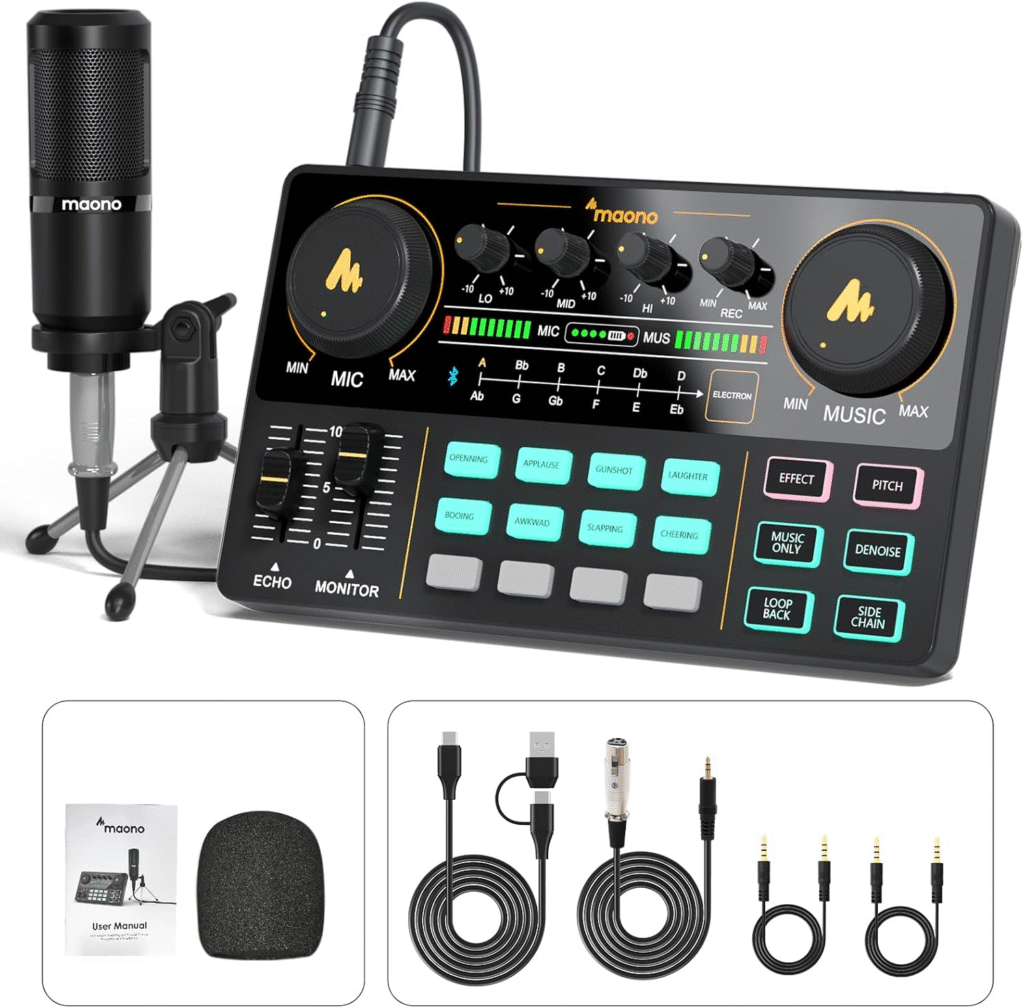
5. Audio Interface (Optional)
- Needed for XLR mics. The Focusrite Scarlett 2i2 is a reliable, budget-friendly choice that connects your mic to your PC.
6. Headphones or Monitors
- Headphones: Closed-back models (e.g., Sony MDR7506) prevent audio bleed into your mic.
- Speakers: Studio monitors are fine but position them carefully to avoid feedback.
7. Green Screen (Optional)
- A green screen lets you swap backgrounds digitally. A collapsible one (5×7 feet) is portable and easy to light evenly.
Start with these essentials, and you’ll have a functional live streaming setup. Ready to go pro? Let’s explore advanced gear.
Advanced Gear for Pro-Level Streaming
Once you’ve mastered the basics, advanced equipment can elevate your stream’s production value. These tools aren’t essential but can make you stand out.
1. Multiple Cameras
- Why Use Them?: Switch between angles for dynamic streams—great for tutorials or multi-person setups.
- Setup: Use a video switcher or software like OBS to manage inputs.
2. Stream Deck
- A customizable keypad (e.g., Elgato Stream Deck) lets you trigger scenes, sounds, or alerts with one tap. It’s a workflow game-changer.
3. High-End Audio
- Mixer: Control multiple audio sources with a mixer like the Yamaha MG10XU.
- Compressor: Smooths out your voice—think Rodecaster Pro.
- Noise Gate: Cuts background hum when you’re silent.
4. Professional Lighting
- Softboxes: Studio-grade diffused light for a polished look.
- LED Panels: Adjustable brightness and color temperature for versatility.
5. Capture Card
- For console gamers, an Elgato HD60 S or AVerMedia Live Gamer 4K captures gameplay flawlessly.
6. Teleprompter
- Reading scripts? A teleprompter keeps you on track while maintaining eye contact with viewers.
7. Top-Tier Microphones
- Upgrade to a Shure SM7B or Electro-Voice RE20 for broadcast-quality audio.
These upgrades can transform your stream, but focus on mastering your core setup first. Now, let’s tackle the software side.
Software and Streaming Platforms
Your hardware needs the right software to shine. Here’s how to choose and set up your streaming tools.
Streaming Software Options
- OBS Studio: Free, customizable, and widely used. Perfect for most streamers.
- Streamlabs OBS: Beginner-friendly with built-in alerts and themes.
- XSplit: Paid, with pro features like in-game overlays.
- vMix: Advanced, ideal for multi-camera productions.
Picking a Platform
- Twitch: King of gaming streams, but versatile for other content.
- YouTube Live: Broad reach, great for VODs and discoverability.
- Facebook Live: Easy integration with your social audience.
- Emerging Options: Check out Trovo or Caffeine for niche communities.
Useful Add-Ons
- Chatbots: Nightbot or Streamlabs Chatbot moderates chat and adds fun commands.
- Overlays: StreamElements offers free, customizable graphics.
- Audio Tools: Voicemeeter balances multiple audio inputs.
Software Setup Tips
- Scenes: Create presets (e.g., “Live,” “BRB”) in OBS for smooth transitions.
- Bitrate: Twitch suggests 6000 kbps for 1080p/60 fps—adjust based on your internet.
- Test Run: Do a private stream to tweak settings before going live.
Your software ties everything together. Next, let’s physically set up your studio.
Setting Up Your Studio: A Step-by-Step Guide
Time to bring your vision to life. Follow these steps for a clean, functional setup.
Step 1: Desk and Chair
Step 2: Computer Setup
- Place your PC on or under the desk with good airflow. Hook up your monitor, keyboard, and mouse.
Step 3: Camera Positioning
- Clip a webcam to your monitor or mount a DSLR on a tripod at eye level.
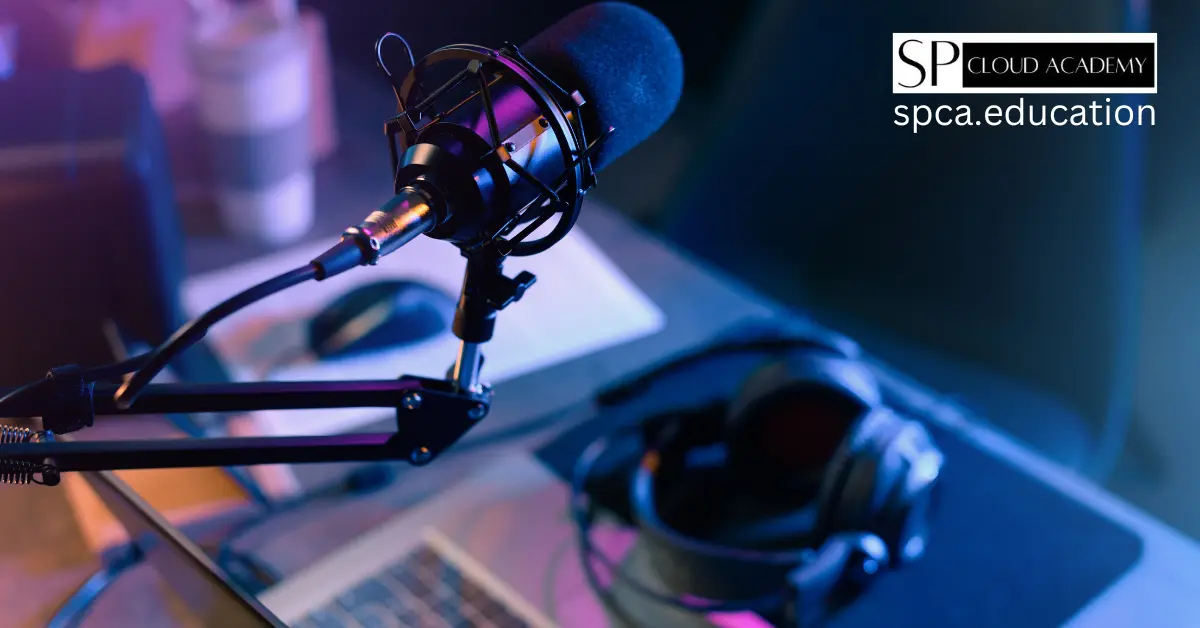
Step 4: Microphone Placement
- Set your mic 6-12 inches from your mouth, off-camera. Use a boom arm to save space.
Step 5: Lighting Arrangement
- Position your key light ahead, fill light to the side, and backlight (if using) behind you.
Step 6: Green Screen (Optional)
- Hang it flat behind you, lit evenly to avoid shadows.
Step 7: Audio Interface
- Connect your XLR mic to the interface, then to your PC via USB.
Step 8: Cable Management
- Use ties or sleeves to keep cables tidy and safe.
Step 9: Stream Deck (Optional)
- Place it near your keyboard for easy access.
Step 10: Test Everything
- Power on and run a test stream to check audio, video, and lighting.
A neat setup boosts your confidence and stream quality. Now, let’s optimize that quality.
Optimizing Your Stream Quality
Great gear needs fine-tuning. Here’s how to ensure your video and audio are top-notch.
Video Optimization
- Resolution: Start with 1080p/30 fps. Upgrade to 60 fps or 4K if your setup allows.
- Bitrate: 4500-6000 kbps for 1080p/60 fps—test to avoid buffering.
- Encoding: Use GPU encoding (e.g., NVENC) to lighten your CPU’s load.
Audio Optimization
- Sample Rate: 48 kHz for clear sound.
- Levels: Aim for -12 to -6 dB to prevent distortion.
- Filters: Add noise suppression and a compressor in OBS for polish.
Internet Stability
- Upload Speed: 10 Mbps+ for 1080p/60 fps. Use Ethernet over Wi-Fi.
- Test: Run a speed test before streaming.
Software Tweaks
- OBS Settings: Adjust bitrate and resolution under Output and Video tabs.
- Monitor: Watch for dropped frames in real-time.
Keep tweaking as you go—quality is a journey. Next, let’s engage your viewers.
Engaging Your Audience Like a Pro
A slick studio is nothing without an audience. Here’s how to keep them hooked.
1. Chat Interaction
- Greet viewers, answer questions, and thank supporters. It builds community.
2. Overlays and Alerts
- Add overlays for info (e.g., donation goals) and alerts for follows or subs.
3. Interactive Fun
- Run polls or let viewers influence your content (e.g., game choices).
4. Consistency
- Stream on a schedule—announce it on social media.
5. Collaborations
- Team up with other streamers for fresh vibes and new viewers.
6. Authenticity
- Be you—your personality is your superpower.
Engagement turns viewers into fans. Now, let’s troubleshoot common hiccups.
Troubleshooting Common Streaming Issues
Tech glitches happen. Here’s how to fix them fast.
1. Lag
- Fix: Lower bitrate or check your internet speed.
2. Audio Problems
- No Sound: Verify mic settings in software.
- Echo: Use headphones, not speakers.
3. Video Issues
- Blurry: Refocus your camera or up resolution.
- Dropped Frames: Reduce bitrate or switch to Ethernet.
4. Software Crashes
- Fix: Update OBS and drivers, or lower settings.
5. Alerts Not Working
- Fix: Refresh browser sources in OBS.
Stay cool and communicate fixes to your audience—they’ll stick with you. Finally, let’s talk growth.
Monetization and Growing Your Stream
Your studio can pay off—literally. Here’s how to monetize and expand.
Monetization Ideas
- Subs: Offer perks via Twitch or YouTube memberships.
- Donations: Set up PayPal or Streamlabs links.
- Sponsors: Partner with brands as you grow.
- Merch: Sell tees or mugs with your logo.
Growth Tips
- Social Media: Post clips on Twitter or TikTok.
- SEO: Optimize YouTube VODs with keywords like “streaming setup.”
- Network: Join streaming communities or collabs.
Patience is key—growth builds over time. Let’s wrap up.
Conclusion: Your Studio, Your Stage
Building a personal live studio is an exciting step toward pro-level streaming. From planning your space to engaging your audience, every detail shapes your success. Start small, refine as you go, and let your creativity shine.
Your studio is your stage—own it. Ready to level up your stream? Get started today!
See Also
-
Level Up Your Stream! The Ultimate Guide to Building a Personal Live Studio Like a Pro
-
Master Google Forms Like a Pro: The Ultimate Guide to Customized Form Development
-
Voice Typing Made Easy: Expert Tips & Tricks for Perfect Hands-Free Writing
-
Google Chrome Enterprise Full Guide: Boost Security, Productivity & Control
-

Revolutionize the Way You Think with These Game-Changing Mind Mapping Tools
-

Artificial Intelligence Agents Explained: What They Are and Why They’re the Future of Productivity
-
The 10 Best Authenticator Apps to Secure Your Online Accounts in 2025
-

Unlock the Power of Cloud: Exploring the Bitnami Application Catalog for Seamless App Deployment
-
Top AI-Powered Web Browsers That Will Transform Your Online Experience