Introduction
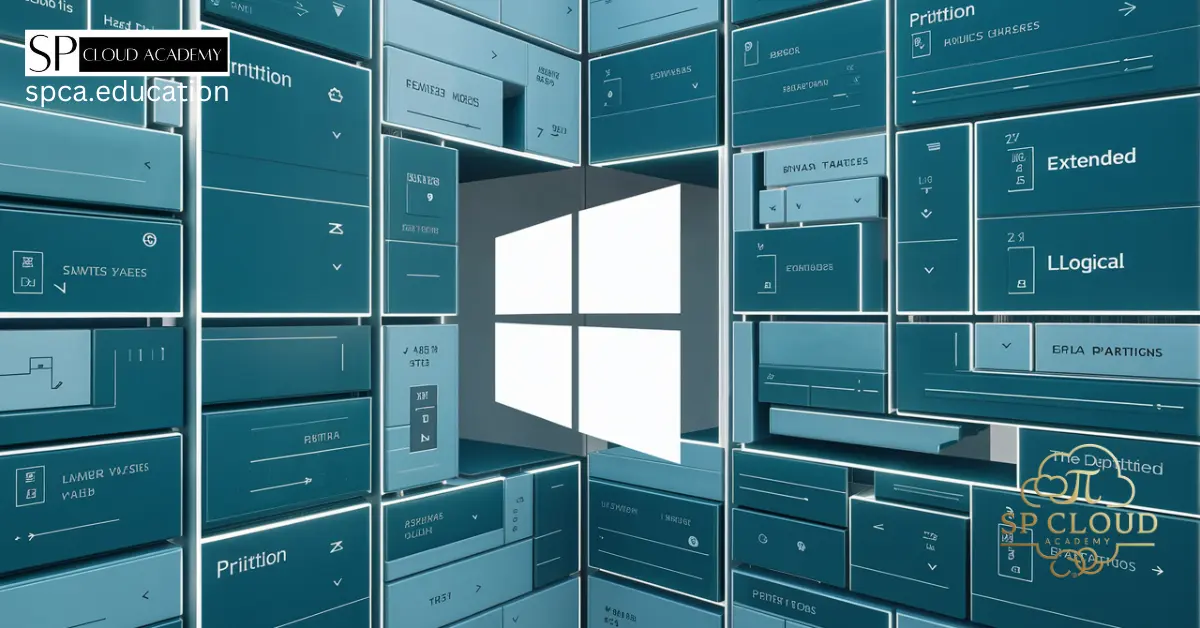
Disk management is a crucial aspect of maintaining an efficient and well-organized computer system. In Windows 11, disk partitioning plays a pivotal role in optimizing performance, organizing data, and ensuring smooth operation. Whether you are a casual user or a system administrator, understanding disk management is essential to maximize your system’s potential.
In this guide, we will explore everything you need to know about disk partitioning, from the basics to advanced features, with a comprehensive step-by-step approach.
What is Disk Partitioning?
Definition and Purpose
Disk partitioning is the process of dividing a physical hard drive into separate, manageable sections known as partitions. Each partition operates as an independent unit, with its own file system and storage capacity, even though they exist on the same physical drive.
Partitioning is useful for organizing data, isolating system files from personal data, and even running multiple operating systems on the same machine.
How Disk Partitioning Works in Windows Systems
Windows systems recognize partitions as distinct drives, each assigned a unique drive letter. This allows users to manage files, programs, and backups more effectively. Disk partitioning in Windows 11 can be performed using built-in tools like Disk Management or through third-party software.
Benefits of Disk Partitioning
Improved System Performance
By separating the operating system, applications, and user data into different partitions, the system can access files more efficiently, leading to faster boot times and improved overall performance.
Enhanced Data Organization and Management
Partitioning allows users to keep their data organized. For instance, one partition can store system files, another can hold personal documents, and a third can be dedicated to media files.
Simplified Backup and Recovery
Partitions make it easier to back up critical data. If one partition encounters an issue, the data on other partitions remains safe. This simplifies recovery processes and minimizes data loss.
Common Disk Partitioning Terms
Partition
A partition is a section of the hard drive that is allocated for specific use. Each partition can be formatted with a different file system and function as an independent drive.
Volume
A volume refers to a formatted partition that is ready for use. It is what users see as a drive (e.g., C: or D:) in the Windows file explorer.
Logical Drive
Logical drives are subdivisions of an extended partition. They allow the creation of multiple drives within a single partition.
File System Types
- NTFS (New Technology File System): The default file system for Windows, known for security and large file support.
- FAT32: An older file system, compatible with various operating systems but with a 4GB file size limit.
- exFAT: Ideal for flash drives and external storage, offering larger file support than FAT32.
Tools for Disk Partitioning in Windows 11
Overview of Built-in Disk Management Tool
Windows 11 includes a Disk Management tool that provides a straightforward interface for partitioning and managing disks. It supports tasks like shrinking, extending, and formatting partitions.
Introduction to Third-Party Software Options
Several third-party tools offer advanced features for disk partitioning. These tools often provide a more intuitive interface and additional capabilities, such as partition recovery and cloning.
Disk Management Tool
Accessing Disk Management in Windows 11
To access Disk Management, follow these steps:
- Press Win + X to open the Quick Access Menu.
- Select Disk Management from the list.
- The Disk Management console will display all available drives and partitions.
Key Features and Capabilities
- Shrink Volume: Reduce the size of an existing partition.
- Extend Volume: Increase the size of a partition using unallocated space.
- Create New Partition: Utilize unallocated space to create a new partition.
- Format Partition: Prepare a partition for use by applying a file system.
Third-Party Partitioning Software
Comparison of Popular Tools
- EaseUS Partition Master: Known for its user-friendly interface and comprehensive features.
- MiniTool Partition Wizard: Offers advanced disk management capabilities, including partition recovery.
- AOMEI Partition Assistant: Provides a wide range of partitioning options and migration tools.
Advantages of Using Third-Party Tools
- More advanced features than built-in tools.
- Better user interface for beginners.
- Enhanced support for complex operations like merging partitions or converting file systems.
Preparing for Disk Partitioning
Backing Up Important Data
Before making any changes to disk partitions, it is essential to back up your data to prevent accidental loss.
Understanding Disk Structure and Available Space
Analyze the current structure of your disks to identify available space and determine how to allocate it effectively.
Step-by-Step Guide to Disk Partitioning
Step 1: Accessing Disk Management
- Search for Disk Management in the Windows search bar.
- Select Create and format hard disk partitions.
Step 2: Shrinking an Existing Partition
- Right-click on the partition you want to shrink.
- Select Shrink Volume.
- Enter the amount of space to shrink and confirm.
Step 3: Creating a New Partition
- Right-click on unallocated space in the Disk Management console.
- Select New Simple Volume.
- Follow the wizard to assign a drive letter and format the partition.
Step 4: Formatting the New Partition
Once a new partition is created, it needs to be formatted before it can be used. Formatting prepares the partition for storing data and assigns a specific file system.
Steps to Format a Partition
- Open Disk Management if it’s not already open.
- Right-click on the newly created partition and select Format.
- Choose a file system (NTFS is recommended for most users).
- Assign a volume label (optional, e.g., “Data” or “Backup”).
- Check the Perform a quick format box unless a full format is needed.
- Click OK to initiate the format process.
The partition will now be ready for use and accessible via File Explorer under the assigned drive letter.
Step 5: Extending an Existing Partition
Extending a partition involves adding unallocated space to an existing partition, which is useful when a drive runs low on space.
Steps to Extend a Partition
- Right-click the partition you want to extend in Disk Management.
- Select Extend Volume.
- The Extend Volume Wizard will open. Click Next.
- Select the amount of unallocated space to add and click Next.
- Confirm the operation by clicking Finish.
The selected partition will now include the additional space, increasing its capacity.
Step 6: Deleting a Partition
Deleting a partition removes it from the drive, turning its space into unallocated space. This is typically done when a partition is no longer needed or when preparing a drive for new partitions.
Steps to Delete a Partition
- Right-click the partition in Disk Management.
- Select Delete Volume.
- Confirm the deletion by clicking Yes.
Note: Deleting a partition erases all data stored on it, so ensure any important files are backed up beforehand.
Advanced Disk Management Features
Dynamic Disks vs. Basic Disks
Windows 11 supports two types of disk configurations: Basic and Dynamic.
Basic Disks
- The default type used in most systems.
- Partitions are limited to primary and extended.
- Easier to manage and compatible with most systems.
Dynamic Disks
- Offer advanced features like spanning, mirroring, and RAID configurations.
- Suitable for advanced users or systems requiring complex disk setups.
When to Use Dynamic Disks
Dynamic disks are ideal for users who need flexibility, such as combining multiple disks into one logical volume or setting up fault-tolerant systems.
Converting Disks
Windows allows conversion between basic and dynamic disks, but the process varies depending on the direction of conversion.
Converting Basic to Dynamic
- Open Disk Management.
- Right-click on the disk (not the partition) and select Convert to Dynamic Disk.
- Follow the prompts to complete the conversion.
Converting Dynamic to Basic
- Back up all data on the dynamic disk.
- Delete all volumes on the disk via Disk Management.
- Right-click the disk and select Convert to Basic Disk.
Warning: This process erases all data on the disk, so backups are essential.
Creating RAID Configurations
RAID (Redundant Array of Independent Disks) combines multiple drives into a single logical unit to enhance performance or provide fault tolerance.
RAID Levels
- RAID 0: Stripes data across disks for improved speed, but no redundancy.
- RAID 1: Mirrors data for redundancy, providing fault tolerance.
- RAID 5: Distributes data and parity across three or more disks, balancing speed and redundancy.
Setting Up RAID in Windows 11
- Open Disk Management.
- Right-click on an unallocated space of a dynamic disk and select New RAID Volume.
- Follow the wizard to select the RAID level and configure the array.
Troubleshooting Disk Partitioning Issues
Common Partitioning Errors
Even with careful planning, users may encounter errors during disk partitioning. Some common issues include:
- Insufficient disk space for shrinking or extending partitions.
- Inaccessible partitions due to file system corruption.
- Failed formatting attempts, often caused by disk errors or interruptions.
Fixing Partition Errors
Diagnosing Disk Issues
- Run Disk Check (CHKDSK):
- Open Command Prompt as Administrator.
- Type
chkdsk /f [drive letter]:and press Enter.
- Use Windows Troubleshooter:
- Open Settings > System > Troubleshoot > Other troubleshooters.
- Select Disk Management troubleshooting.
Partition Recovery
If a partition becomes inaccessible, third-party tools like EaseUS or MiniTool Partition Wizard can often recover lost data and restore functionality.
Maintaining Your Partitions
Monitoring Disk Health
Regularly checking disk health ensures your drives remain in good working condition. Tools like CrystalDiskInfo provide detailed insights into disk performance and health metrics.
Defragmentation and Optimization
Fragmentation can slow down file access. Windows 11 includes a built-in optimization tool to defragment and optimize drives.
Steps to Optimize Drives
- Search for Defragment and Optimize Drives in the Start menu.
- Select a drive and click Optimize.
- Schedule regular optimization for improved performance.
Updating Disk Drivers
Outdated drivers can lead to disk issues.
Steps to Update Disk Drivers
- Open Device Manager.
- Expand the Disk drives category.
- Right-click on your disk and select Update driver.
- Choose Search automatically for drivers.
FAQs on Disk Partitioning
What happens if I delete a partition?
Deleting a partition removes all data on it and converts the space to unallocated. This can be reversed by creating a new partition using the unallocated space.
Can I partition an external drive?
Yes, external drives can be partitioned just like internal drives. The process is identical in Disk Management.
Conclusion
Disk partitioning in Windows 11 is a powerful way to optimize your system, enhance data organization, and improve overall performance. By following this guide, users can confidently manage their disk space, troubleshoot common issues, and maintain their partitions for long-term efficiency.
See Also
-
Windows To Go in Windows 11: The Portable OS Revolution You Didn’t Know You Needed!
-
Windows 11 Performance Hacks: Stop Background Apps from Wasting Your Power!
-
No Internal Storage? No Problem! Install Windows 11 on an External SSD Today
-

Unlock Hidden Performance: The Best Windows 11 Commands for Optimization
-

The Ultimate Guide to Troubleshooting Advanced System Issues in Windows 11
-
Revolutionize Your Digital Life: The Ultimate Guide to Cloud Integration in Windows 11
