Introduction to New PC Preparation
Setting up a new PC can be both exciting and daunting. This guide provides a comprehensive roadmap to ensure your PC is optimized for performance and functionality from the moment it’s powered on. Whether you’re a seasoned builder or a first-time user, following these steps will help you avoid common pitfalls and get the most out of your new system.
Initial Hardware Setup
Setting up a new PC begins with assembling the hardware correctly. Even pre-built systems require some basic steps to ensure everything is in place. This section outlines the essential actions to kick off your PC preparation journey.
Unboxing and Inspecting Components
When your new PC or its components arrive, start by carefully unboxing everything. Ensure that all parts are accounted for, including:
- CPU
- Motherboard
- Memory (RAM)
- Storage drives (SSD/HDD)
- Power Supply Unit (PSU)
- GPU (if applicable)
- Case and peripherals
Inspect each component for any visible damage or defects. Check the manuals to verify that the components match your purchase and specifications.
Assembling the PC: Key Steps and Precautions
For custom-built PCs, assembling the hardware is the next step. Follow these instructions:
- Prepare Your Workspace:
- Use a clean, flat surface with minimal static.
- Wear an anti-static wrist strap to prevent electrostatic discharge.
- Install the CPU:
- Open the CPU socket on the motherboard.
- Align the CPU with the socket (match the gold triangle marker).
- Gently secure it in place.
- Add the RAM:
- Locate the memory slots on the motherboard.
- Insert the RAM sticks into the slots, ensuring the notch aligns.
- Attach the Storage Drives:
- For SSDs: Use M.2 slots or SATA ports as required.
- For HDDs: Secure the drives in the designated case bays.
- Install the Power Supply Unit:
- Mount the PSU in the case.
- Connect cables to the motherboard, storage drives, and GPU (if applicable).
- Add the GPU (if separate from the CPU):
- Insert the GPU into the PCIe slot on the motherboard.
- Secure it with screws and connect power cables.
- Assemble the Case:
- Attach the motherboard to the case with screws.
- Ensure proper cable management for airflow and aesthetics.
Connecting Peripherals
After assembling the main components, connect essential peripherals:
- Monitor: Attach via HDMI, DisplayPort, or VGA.
- Keyboard and Mouse: Use USB ports or wireless receivers.
- Additional Devices: Connect speakers, webcams, or external drives as needed.
By the end of this step, your PC hardware should be fully assembled and ready for its first power-on.
First Power-On
The first power-on is a critical moment in setting up a new PC. It verifies that all hardware components are functioning correctly before diving into software installation.
Checking for Hardware Functionality
When you power on the PC for the first time:
- Monitor the POST Process:
- POST (Power-On Self-Test) is the system’s way of checking hardware health.
- A successful POST is usually indicated by a beep or an on-screen display.
- Verify Display Output:
- Ensure the monitor shows the motherboard logo or BIOS menu.
- If the screen remains blank, recheck connections and GPU placement.
- Inspect Cooling Systems:
- Confirm that all fans (CPU, GPU, and case) are spinning.
- Check that liquid cooling systems are functioning (if applicable).
Troubleshooting Common Boot Issues
If the PC doesn’t boot successfully:
- No Power:
- Double-check PSU connections.
- Test the outlet and power strip.
- No Display:
- Reseat the GPU or RAM.
- Switch to another monitor or cable.
- Continuous Beeps:
- Refer to your motherboard manual for beep code meanings.
Troubleshooting these issues ensures your PC is physically ready for the next steps.
BIOS/UEFI Setup
BIOS (Basic Input/Output System) or UEFI (Unified Extensible Firmware Interface) serves as the bridge between hardware and software. Configuring it properly is vital for system stability and performance.
Accessing the BIOS/UEFI Menu
To access the BIOS/UEFI setup:
- Power on the PC.
- During the POST process, press the designated key (often Delete, F2, or Esc) repeatedly.
Once inside the BIOS menu, familiarize yourself with its layout and navigation.
Essential BIOS Settings for Optimal Performance
Configure these key settings:
- Boot Order:
- Set your primary storage drive as the first boot device.
- Memory Configuration:
- Enable XMP (Extreme Memory Profile) for RAM to run at its rated speed.
- CPU Settings:
- Enable multi-core processing if disabled.
- Fan Profiles:
- Adjust fan speeds for efficient cooling and noise control.
Updating BIOS Firmware
Updating the BIOS can resolve compatibility issues or unlock new features. To update:
- Visit the motherboard manufacturer’s website.
- Download the latest BIOS version for your model.
- Follow the on-screen instructions for a USB or in-BIOS update process.
Proper BIOS configuration lays the groundwork for a smooth OS installation.
Storage Configuration
Proper storage configuration is essential to ensure your system runs efficiently and allows for smooth data management. Setting up your storage drives involves partitioning, formatting, and choosing the appropriate primary and secondary storage.
Partitioning and Formatting Storage Drives
After setting up the hardware, your storage drives need to be prepared for use. Here’s how:
- Access Disk Management:
- For Windows: Use the “Disk Management” tool (search
diskmgmt.msc). - For Linux: Use tools like GParted or fdisk.
- For Windows: Use the “Disk Management” tool (search
- Partition the Drive:
- Create partitions for system files (OS) and personal data.
- For example, allocate at least 100GB for the OS partition.
- Format Partitions:
- Choose a file system (e.g., NTFS for Windows, ext4 for Linux).
- Label each partition for easier identification.
- Assign Drive Letters:
- Assign letters to each partition (Windows) or mount points (Linux).
Partitioning helps separate system and personal data, while formatting readies the drive for file storage.
Selecting Primary and Secondary Drives
With multiple storage drives, designate their roles:
- Primary Drive:
- Use an SSD for faster OS boot times and application loading.
- Secondary Drive:
- Utilize HDDs for bulk storage of files like videos, photos, and backups.
SSD vs. HDD Configuration
SSDs and HDDs serve different purposes:
- SSD Configuration:
- Install the OS and frequently used programs for speed.
- Ensure TRIM is enabled for SSD longevity.
- HDD Configuration:
- Store large files and archives.
- Use partitions to organize data effectively.
With storage configured, your PC is ready for its operating system.
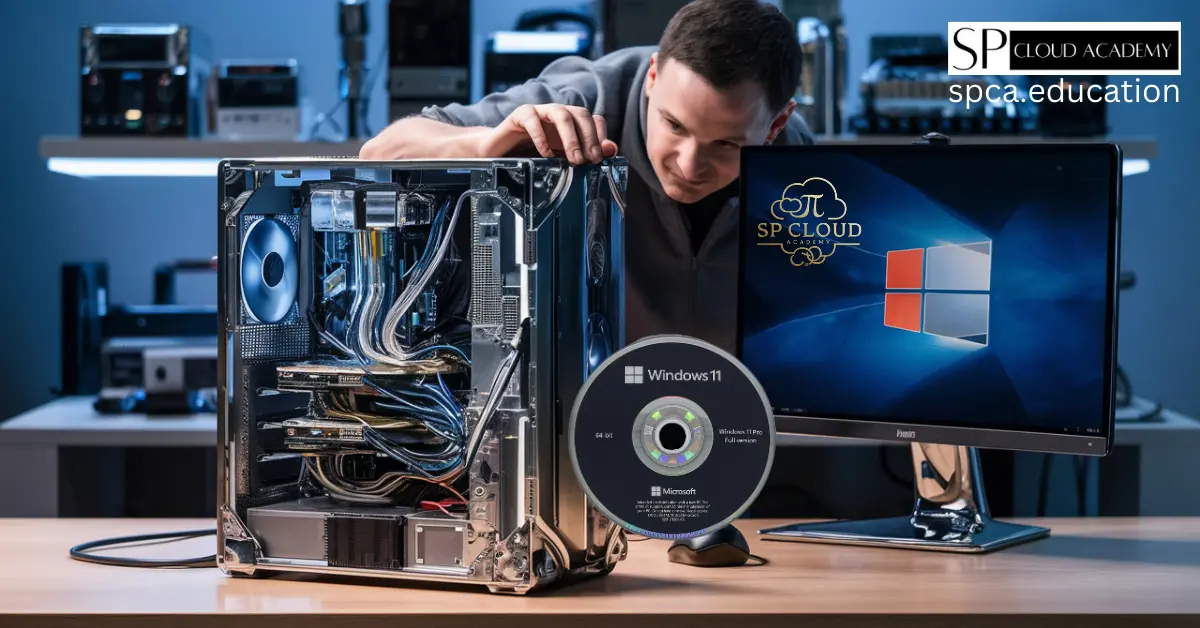
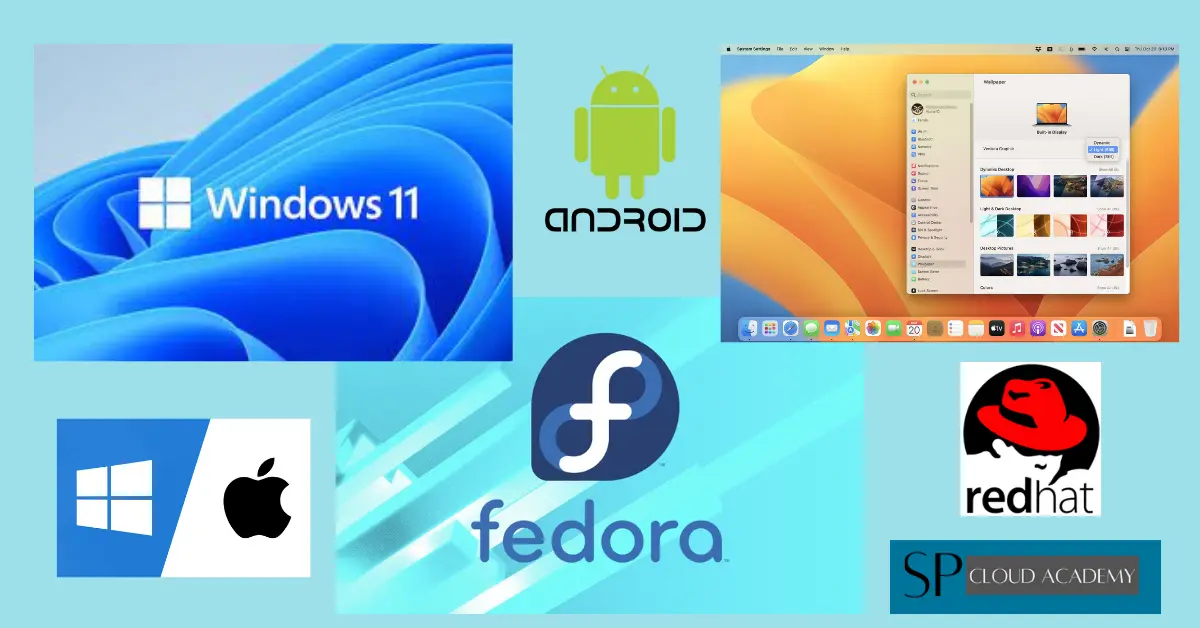
Installing an Operating System
Choosing and installing an operating system (OS) is a pivotal step in preparing your PC. This section provides guidance on selecting the right OS and performing a seamless installation.
Choosing the Right OS
Common choices for new PCs include:
- Windows: User-friendly with extensive software support.
- Linux: Open-source, customizable, and secure.
- Others: Options like macOS (if hardware supports) or specialized systems.
Consider your needs:
- For gaming: Choose Windows.
- For development: Opt for Linux.
Creating a Bootable USB Drive
Prepare a bootable USB drive for OS installation:
- Download the OS image (ISO) from the official website.
- Use a tool like Rufus (Windows) or Etcher (cross-platform).
- Select the USB drive and the ISO file in the tool.
- Click “Start” to create the bootable USB.
Step-by-Step OS Installation Process
- Insert the Bootable USB:
- Plug the USB into a port and restart the PC.
- Access the BIOS/UEFI menu to set the USB as the primary boot device.
- Begin Installation:
- Follow the on-screen instructions to start the OS installation.
- Partition Selection:
- Choose the previously configured primary partition for the OS.
- Complete Installation:
- Let the system install and reboot.
- Follow initial setup prompts for user accounts, time zones, and preferences.
Once installed, the OS provides the foundation for drivers and software.
Essential Drivers and Updates
Drivers are vital for your hardware to communicate with the operating system. Installing the right drivers ensures your PC runs smoothly and efficiently.
Identifying Necessary Drivers
Common drivers include:
- Chipset Drivers:
- Manage motherboard communication with other components.
- GPU Drivers:
- Critical for graphics performance and gaming.
- Network Drivers:
- Enable internet connectivity via Ethernet or Wi-Fi.
Visit the manufacturer’s website for the latest versions.
Installing Drivers
- Download Driver Files:
- Download from trusted sources, such as Intel, NVIDIA, or AMD.
- Run the Installer:
- Follow installation prompts and restart the PC if needed.
- Use Driver Management Tools:
- Tools like Driver Booster can simplify updates.
Updating the OS and Device Drivers
Keep your system secure and stable by:
- Using the OS update feature (e.g., Windows Update).
- Regularly checking for new driver versions.
- Enabling automatic updates for critical drivers.
With updated drivers, your PC is now primed for installing software.
Software Installation
The right software transforms your PC into a versatile tool for productivity, entertainment, and security.
Essential Software for New PCs
Start with the basics:
- Web Browsers: Chrome, Firefox, or Edge.
- Media Players: VLC Media Player or Spotify.
- Compression Tools: WinRAR or 7-Zip.
Productivity Tools
Equip your PC for work or school:
- Office Suites:
- Microsoft Office or free alternatives like LibreOffice.
- Cloud Storage:
- Google Drive, OneDrive, or Dropbox.
Security Software
Ensure robust protection against threats:
- Install a reputable antivirus (e.g., Bitdefender, Norton).
- Enable firewalls and regularly scan for malware.
Once software is installed, proceed to optimize the system for performance.
System Optimization for Peak Performance
Once your PC is set up and software is installed, optimizing the system ensures smooth performance. Optimization involves adjusting settings, managing resources, and streamlining processes.
Adjusting System Settings
Modify key system settings to enhance performance:
- Power Settings:
- Set to “High Performance” mode for resource-intensive tasks.
- Access this option via Control Panel > Power Options in Windows.
- Startup Programs:
- Limit unnecessary programs from launching at startup.
- Use Task Manager > Startup to disable non-essential applications.
- Visual Effects:
- Reduce animations and visual effects to save system resources.
- For Windows: Navigate to System Properties > Performance Settings and choose “Adjust for best performance.”
Cleaning and Managing Disk Space
Regularly maintaining storage ensures the system runs efficiently:
- Remove Unnecessary Files:
- Use built-in tools like Disk Cleanup or third-party options like CCleaner.
- Uninstall Unused Programs:
- Go to Control Panel > Programs and Features and remove unused software.
- Enable Storage Sense (Windows):
- Automatically delete temporary files and manage disk space.
- Defragment Drives:
- For HDDs: Use the built-in defragmentation tool.
- For SSDs: Avoid defragmentation; use optimization features instead.
Keeping Background Processes in Check
Too many background processes can slow down your PC. Control them by:
- Monitoring resource usage in Task Manager.
- Disabling unnecessary services through msconfig (Windows).
Boosting Gaming and High-Performance Tasks
For gaming or resource-intensive tasks:
- Enable Game Mode (Windows):
- Reduces background processes while gaming.
- Overclock Hardware:
- Adjust CPU/GPU speeds for better performance.
- Use tools like MSI Afterburner or Intel Extreme Tuning Utility, ensuring proper cooling is in place.
System optimization helps maintain peak performance for daily use and demanding activities.
Setting Up a Reliable Backup System
Data loss can be catastrophic. Setting up a robust backup system ensures your important files are always safe.
Types of Backups
Decide which type of backup suits your needs:
- Full Backup:
- Copies everything, including the OS and installed software.
- Ideal for critical data or a complete system recovery.
- Incremental Backup:
- Backs up only changes since the last backup.
- Saves storage space and speeds up the process.
- Cloud Backup:
- Stores files online for easy access and recovery.
- Services include Google Drive, OneDrive, and Dropbox.
Creating a Backup Schedule
Automate backups to avoid manual intervention:
- Windows Backup:
- Use Backup and Restore (Windows 7) or File History.
- Third-Party Tools:
- Options like Acronis True Image or Macrium Reflect offer advanced features.
- Cloud Services:
- Schedule uploads with services like Google Backup & Sync.
Testing and Verifying Backups
Regularly test backups to ensure data integrity:
- Restore files to verify they are complete and accessible.
- Check backup logs for errors or skipped files.
A strong backup system protects against unexpected failures and ensures peace of mind.
Customizing Your PC
Personalizing your PC improves productivity and reflects your style. Customization can range from desktop themes to workflow-specific tweaks.
Personalizing the User Interface
Start with basic personalization:
- Desktop Background and Themes:
- Choose wallpapers and themes via Settings > Personalization.
- Taskbar and Start Menu:
- Pin frequently used apps for quick access.
- Use features like Task View for virtual desktops.
Keyboard Shortcuts and Productivity Tools
Streamline tasks with shortcuts:
- Create custom shortcuts for applications.
- Use tools like AutoHotkey to automate repetitive tasks.
Installing Custom Software
Customize your software suite for specific needs:
- Coding: Install IDEs like Visual Studio Code or PyCharm.
- Design: Use tools like Adobe Photoshop or Canva.
- Gaming: Add game launchers like Steam or Epic Games Store.
Hardware Customization
For deeper personalization:
- Add RGB lighting to your case or peripherals.
- Upgrade components like GPUs, RAM, or storage.
Customizing your PC tailors it to your workflow and enhances user satisfaction.
Securing Your PC
Cybersecurity is essential in today’s digital age. Protecting your PC from online threats safeguards your data and privacy.
Installing Antivirus and Anti-Malware Software
Start with robust security software:
- Use trusted antivirus programs like Kaspersky or Norton.
- Add anti-malware tools like Malwarebytes for enhanced protection.
Enabling Firewalls
Firewalls act as the first line of defense:
- Ensure Windows Firewall or a third-party firewall is enabled.
- Configure rules to block unauthorized access.
Regularly Updating Software
Keep your system secure by:
- Enabling automatic updates for the OS and software.
- Updating browsers, plugins, and drivers to patch vulnerabilities.
Practicing Safe Browsing Habits
Minimize risks by:
- Avoiding suspicious websites and downloads.
- Using a secure browser with ad-blockers and anti-tracking extensions.
With proper security measures in place, your PC will remain safe from most threats.
Conclusion: From Setup to Mastery
Preparing a new PC is an exciting yet meticulous process. From assembling hardware to installing software and optimizing performance, every step ensures a smooth and efficient system.
Following this guide, you’ll not only set up your PC but also create a foundation for productivity, gaming, or creative pursuits. Regular maintenance and updates will keep your PC performing at its best for years to come.
See Also
-
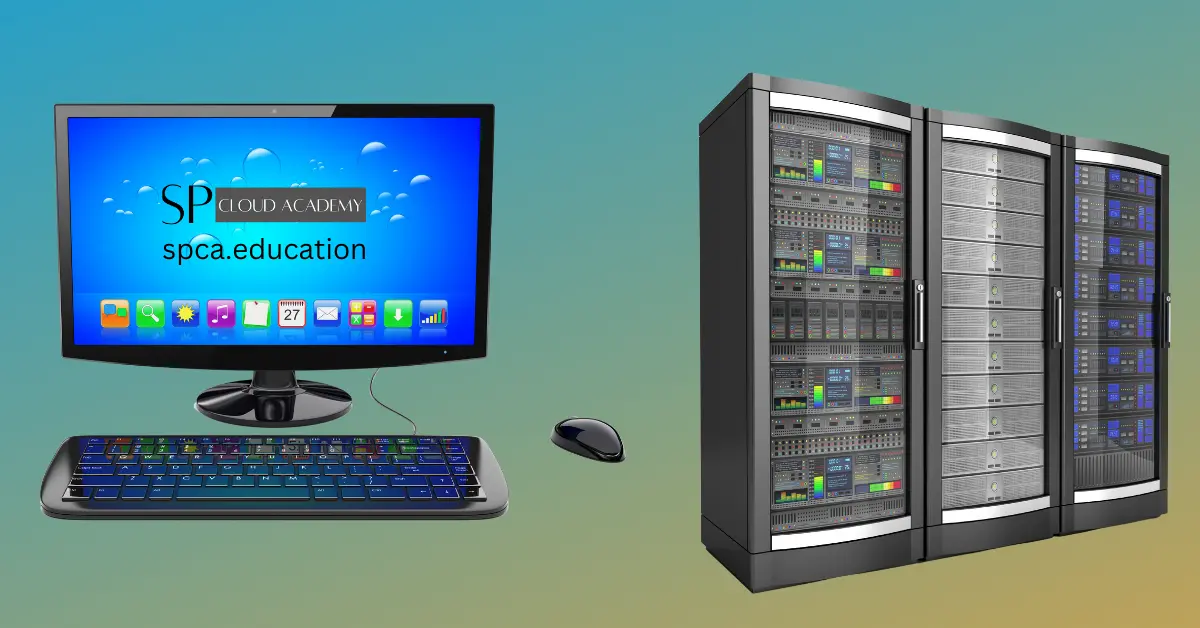
Desktop vs. Server Operating Systems
-

Stock Android
-
Multi boot environment in single PC
-

Cloud-Based Android Apps Development Labs
-

Cloud-based Software Development and Testing Labs
-

Cloud-based virtualization labs
-

Cloud-based Simulation Labs
-

Operating system hardening
-

IT System Development, Deployment and Migration